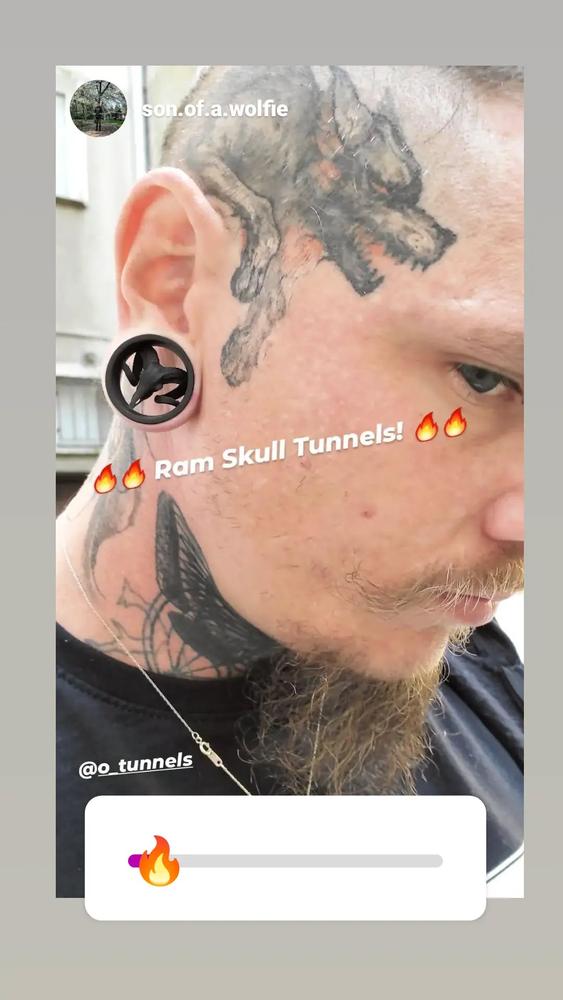
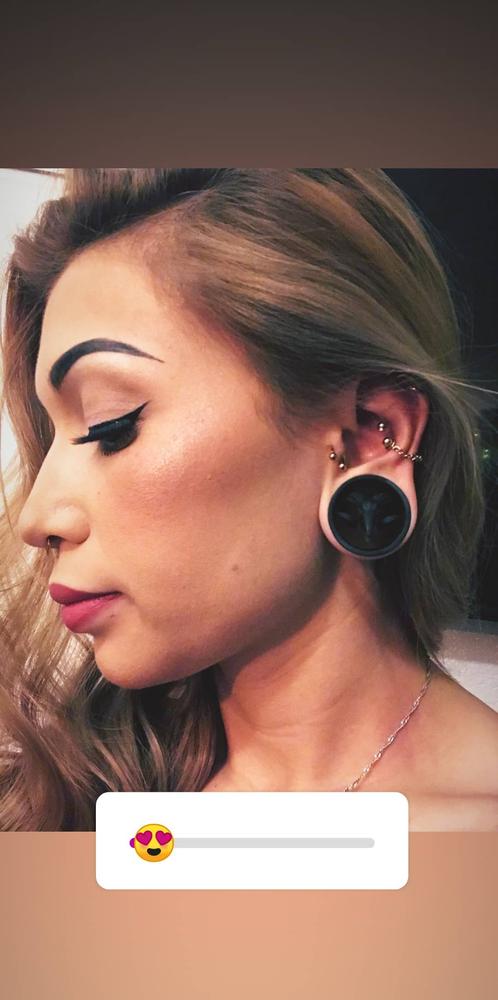
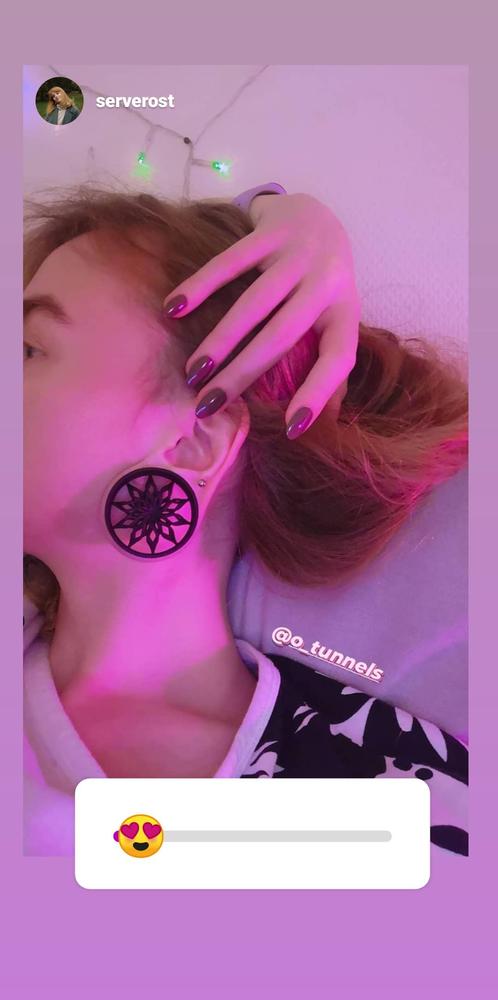
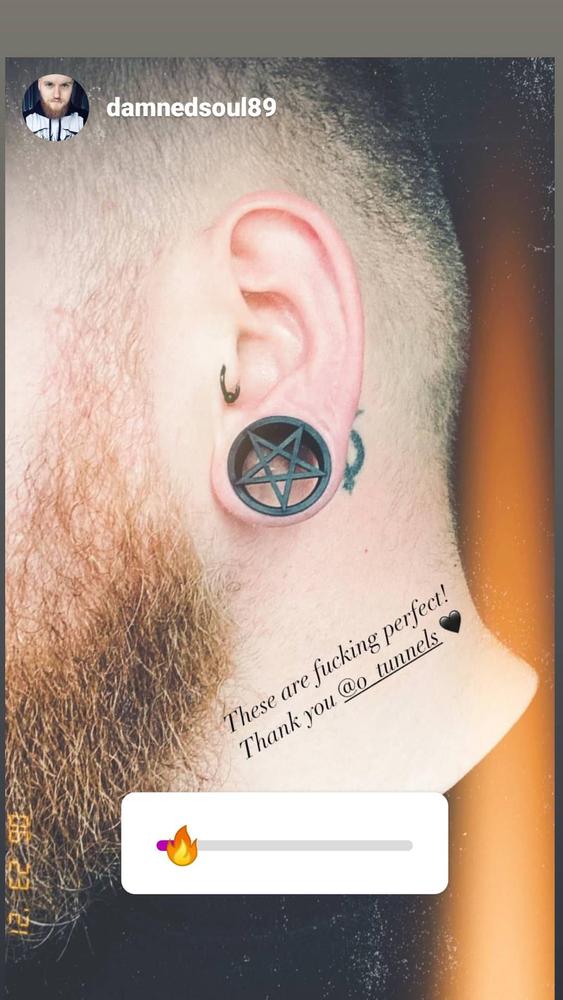
Introduction: Welcome to the World of Ear Fashion!
Hey there, fellow trendsetters and ear enthusiasts! Are you ready to take a deep dive into the fascinating universe of single-flared and double-flared tunnels? Well, buckle up because we’re about to embark on a thrilling journey together.
Understanding Single Flared vs. Double Flared
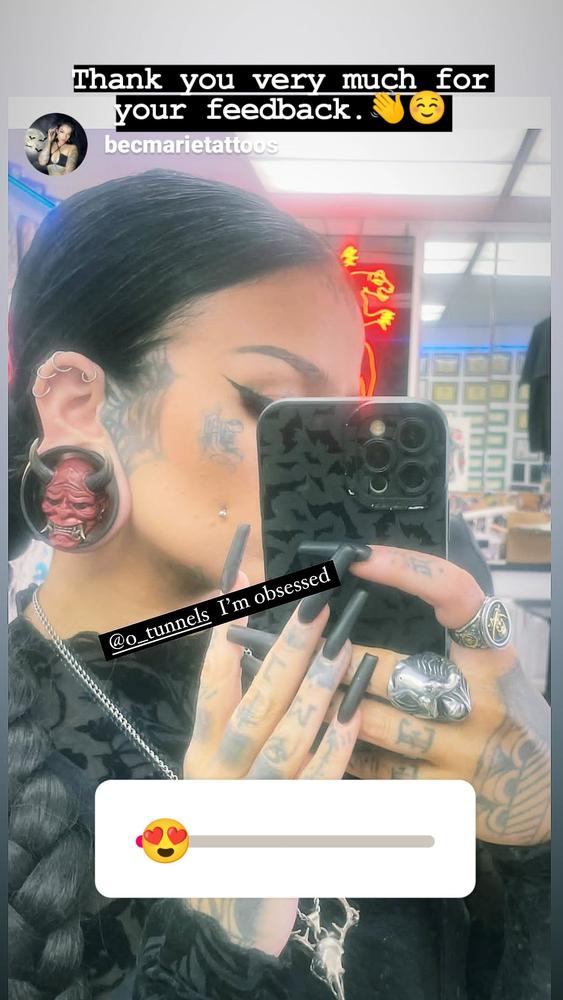
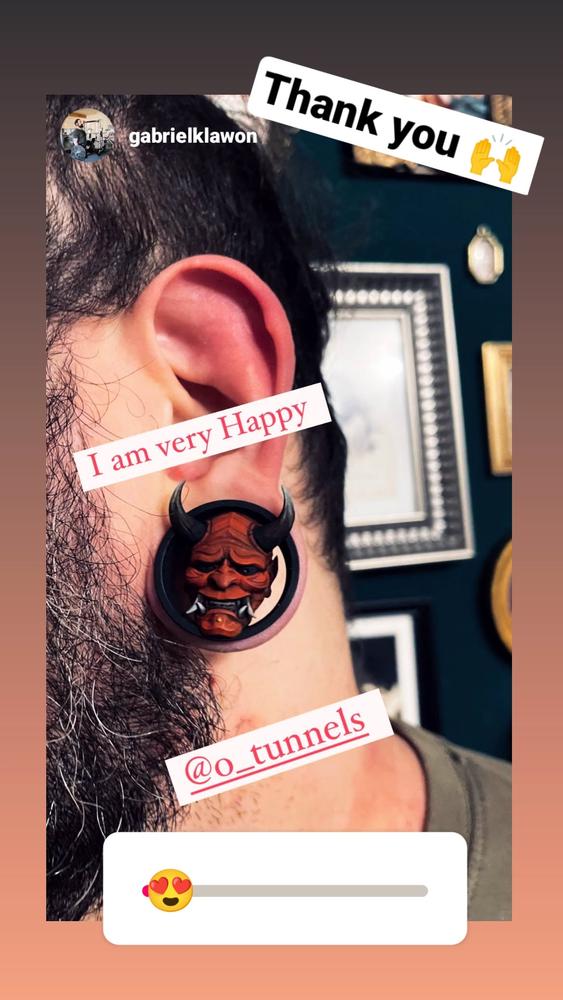
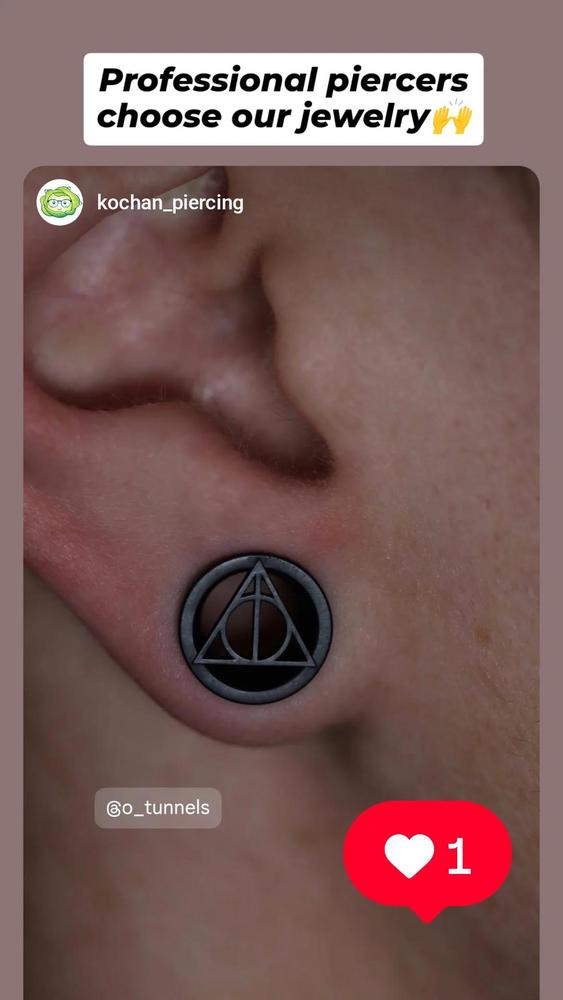
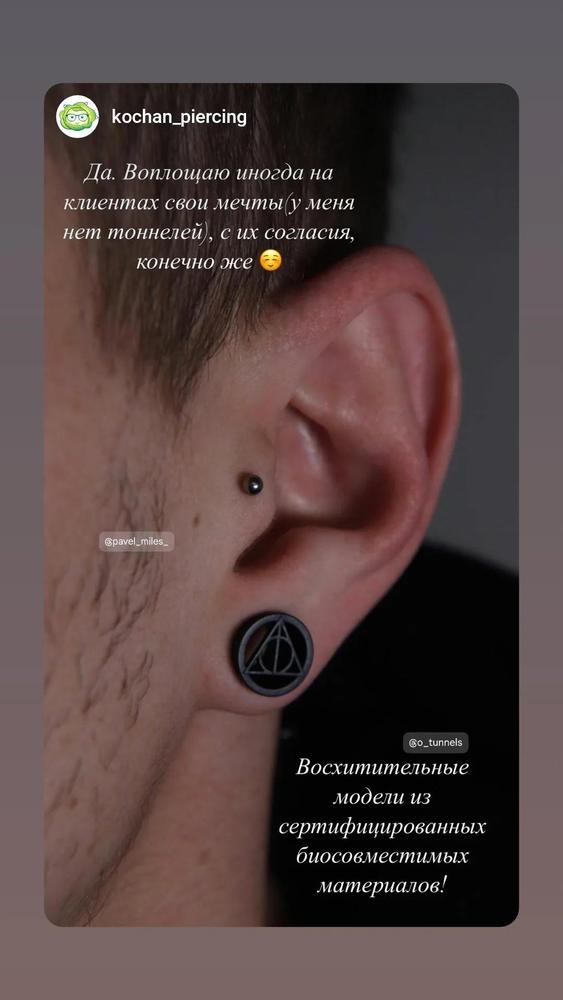
Let’s kick things off by understanding the fundamental difference between single-flared and double-flared tunnels. The double-flared ones come with wider flares on both ends, requiring fully healed and stretchy ear piercings. Conversely, single-flared tunnels feature a larger flare on one side, making them an ideal choice for beginners or those with fresh stretches.
Step-by-Step Guide: Inserting Single Flared and Double Flared Tunnels
Prep Talk: Cleanliness is Crucial
Before anything else, let’s talk hygiene. Wash those hands and ensure your earlobes are squeaky clean! A quick soap and water routine is a must – no shortcuts allowed in this zone!
Lubrication is Your Best Buddy
Grab some water-based lubricant – it’s your secret weapon for smooth sailing. Apply it generously to the tunnel and the outer edge of your piercing for an effortless experience.
Putting in Double-Flared Tunnels: The Patient Route
Patience, dear friends, is the key here. Gently guide the tunnel into your piercing, remembering those flares are larger, so take it slow. A slight twisting motion and gentle pressure can be your allies in this process.
Check and Adjust (Double-Flared)
Once it’s in, take a moment to ensure it’s sitting comfortably. It should feel snug but not uncomfortable. If there’s any pain or discomfort, take a step back – it might need a bit more time.
Single-Flared Tunnels: A Simpler Process
For single-flared tunnels, it’s a smoother ride. Slide the narrower end into your piercing and gently push until the flare rests against your ear. Easy, right?
Check and Adjust (Single-Flared)
After insertion, ensure it feels snug without causing irritation. If it’s too loose or tight, make small adjustments until it feels just right.
Aftercare: Show Your Ears Some Love
Post-insertion, it’s all about care! Keep your ears clean with a mild soap and water wash. Avoid harsh chemicals or alcohol-based products – your ears deserve some TLC!
Patience Pays Off
Remember, whether single or double-flared, patience is the name of the game. Listen to your body, and if it feels uncomfortable, give it more time before moving up in size.
Flaunt Those Tunnels
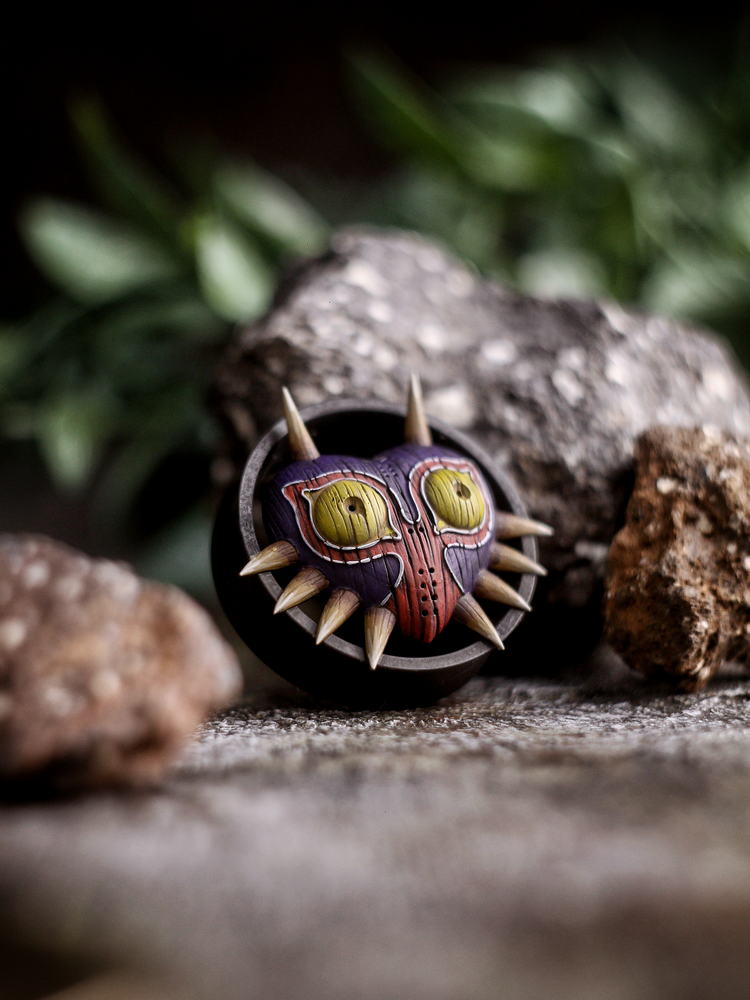
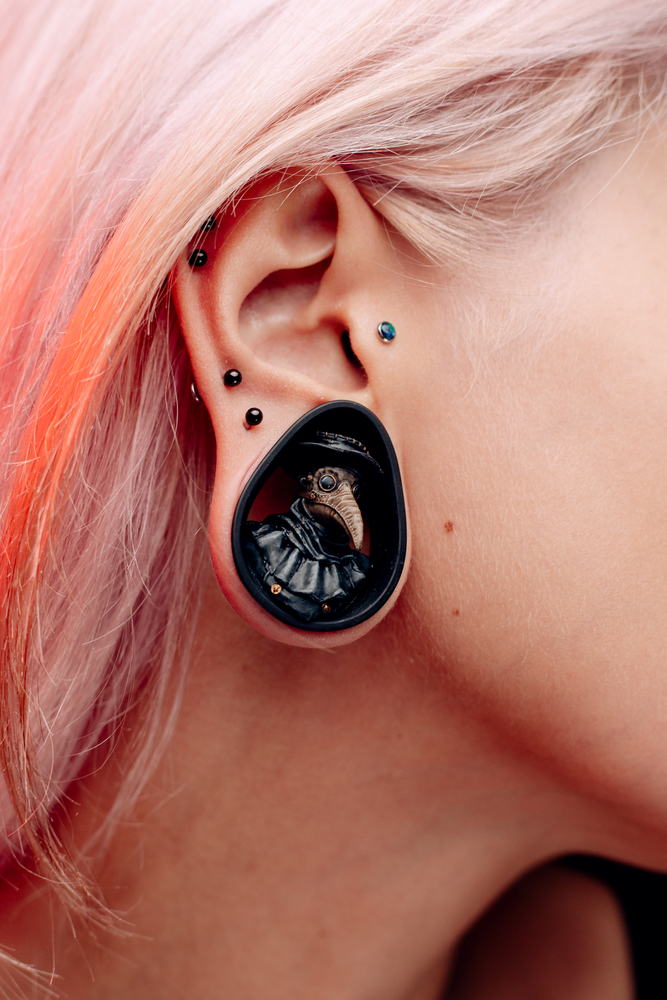
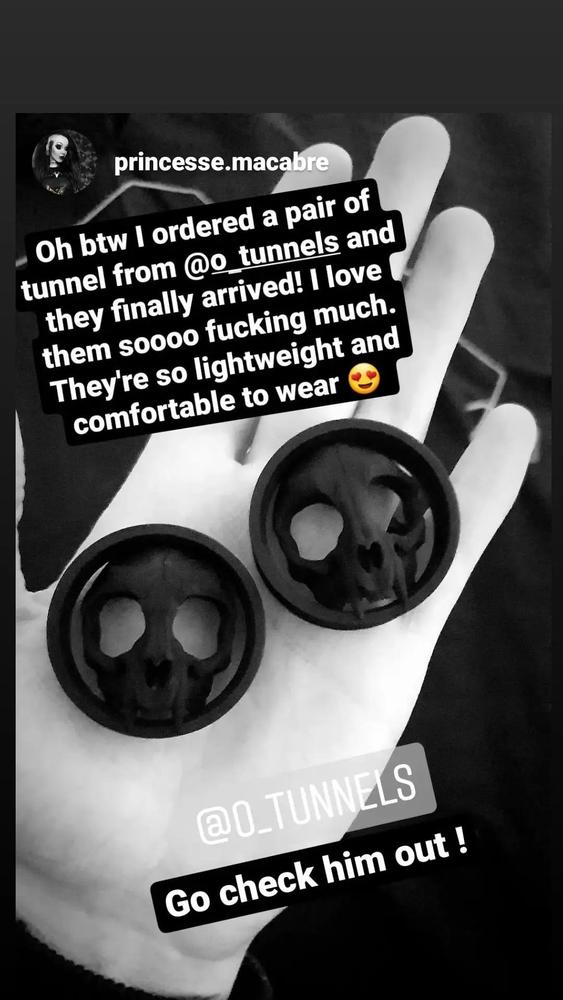
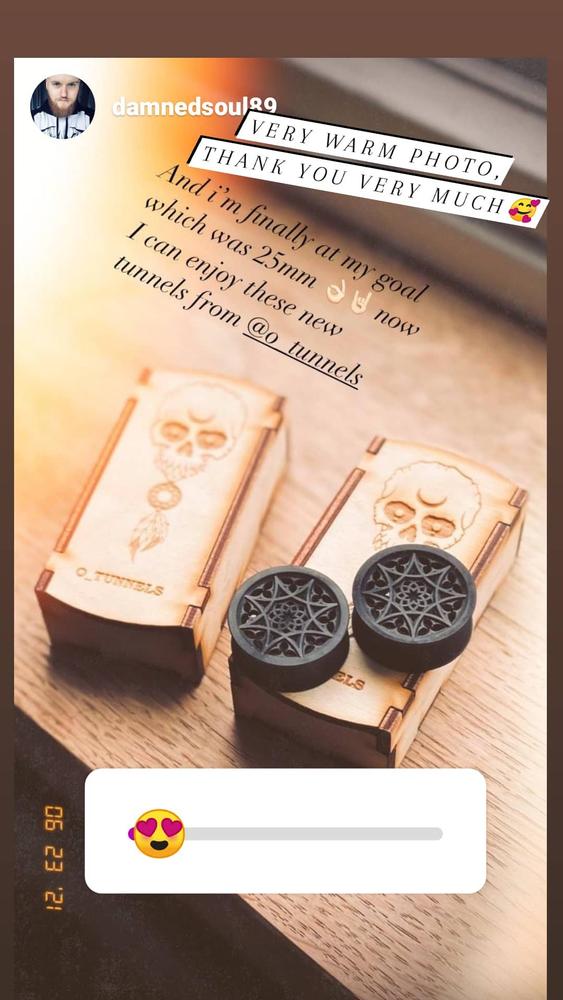
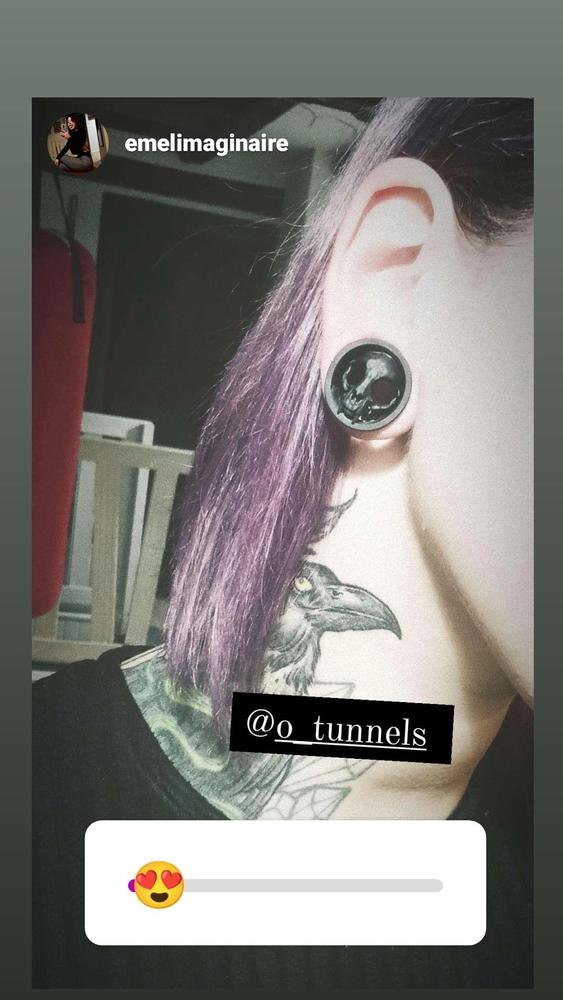
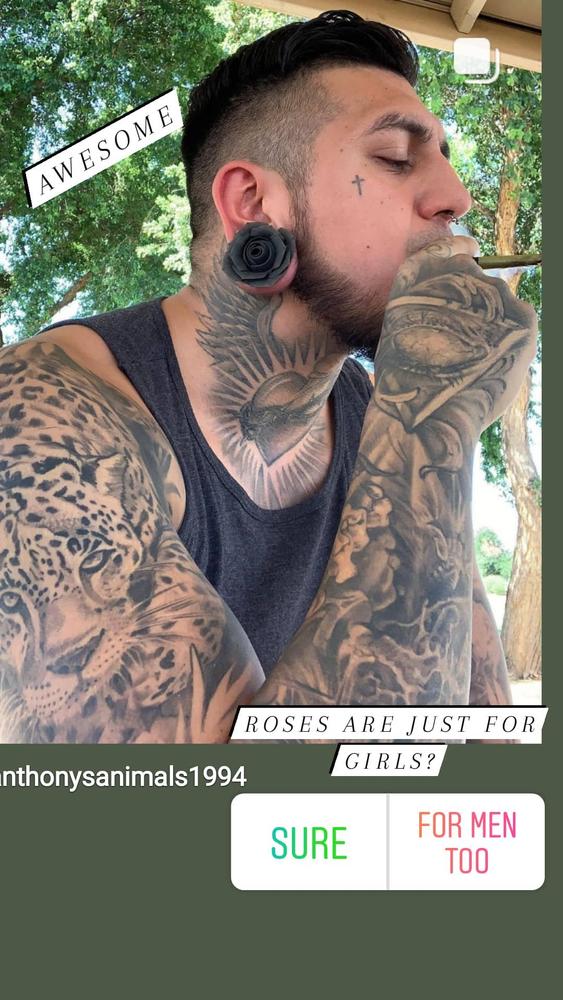
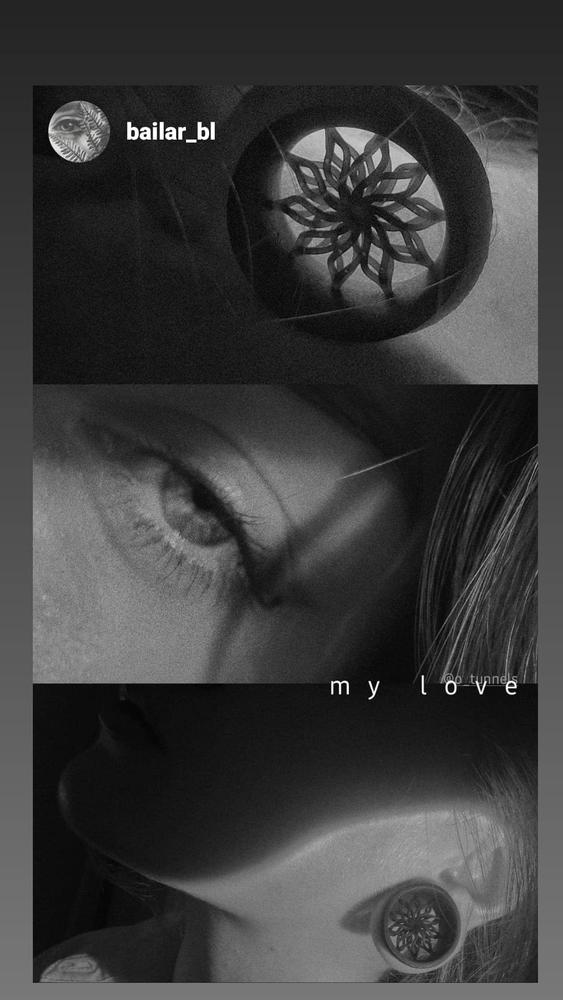
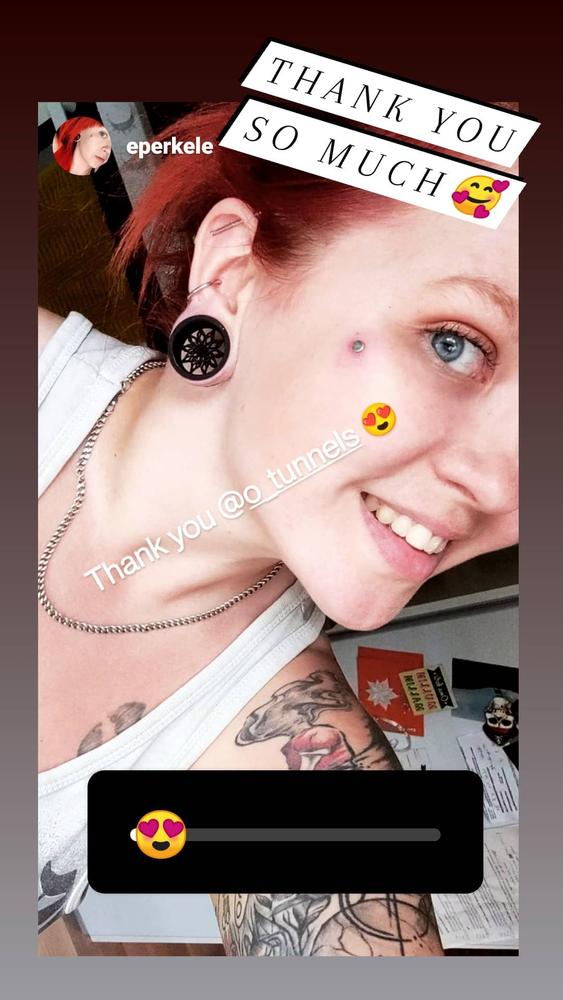
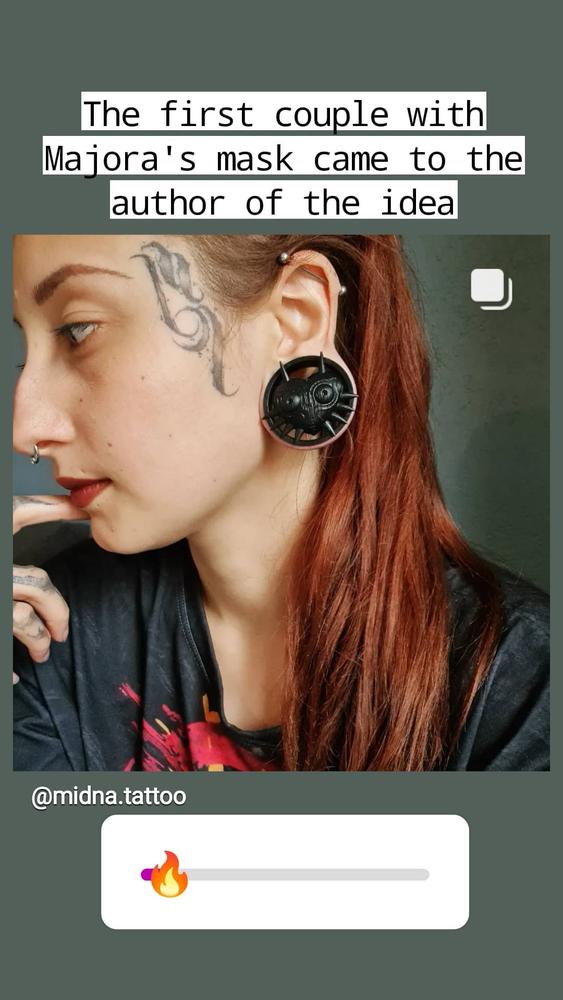
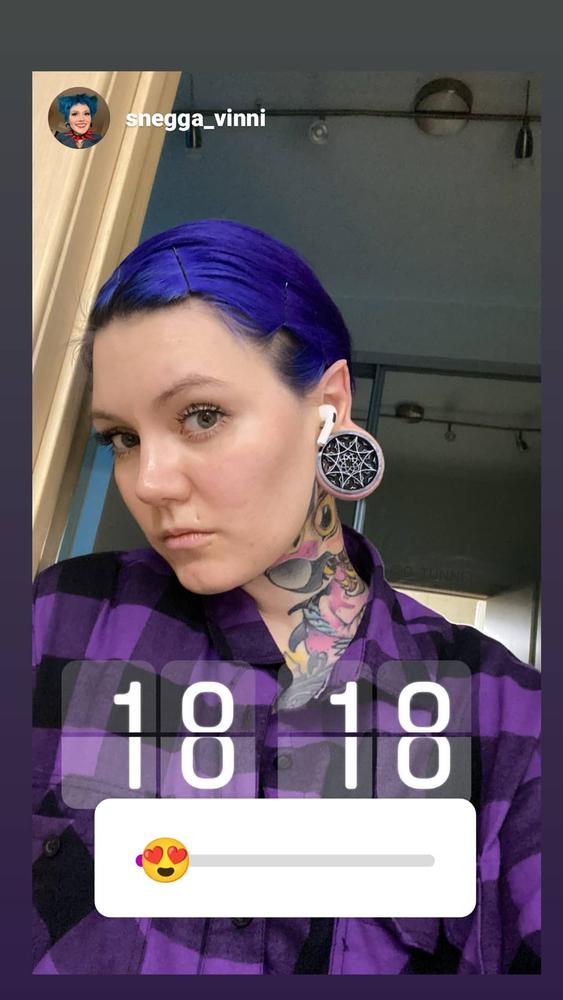
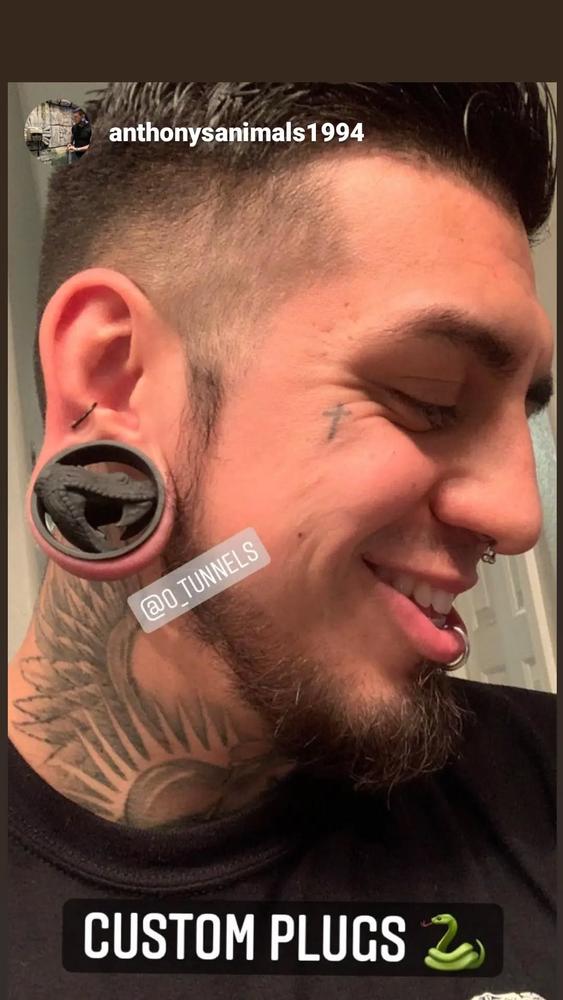
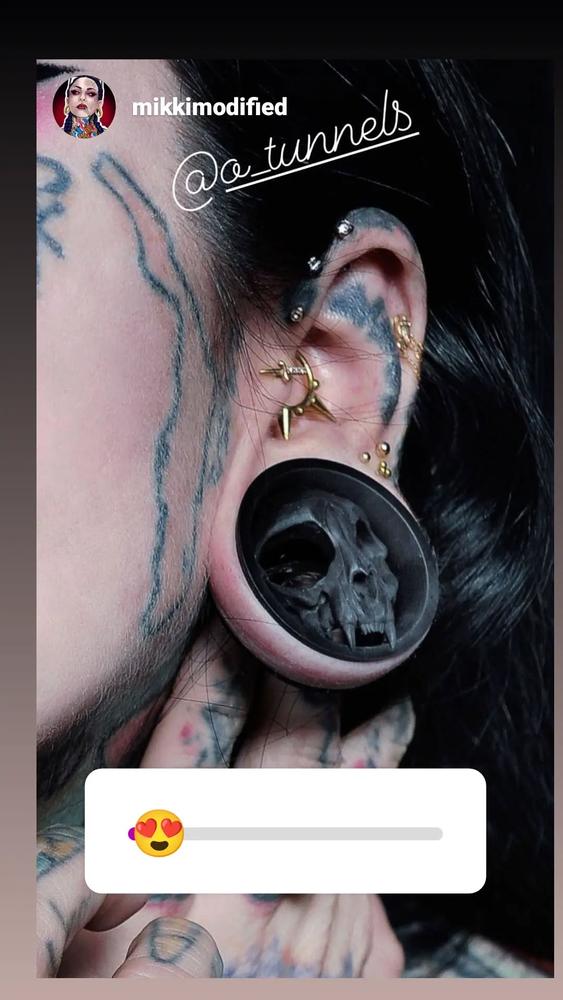
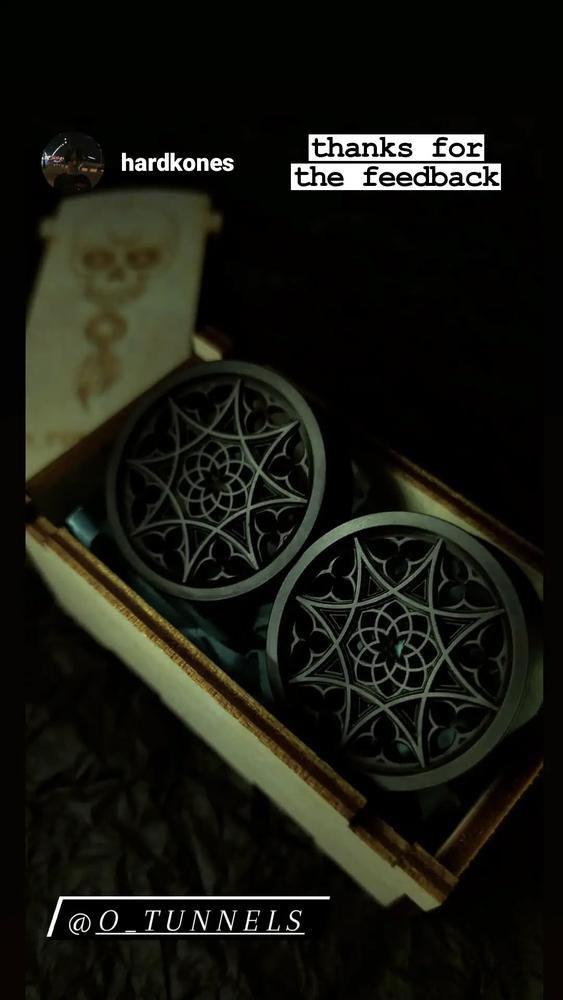
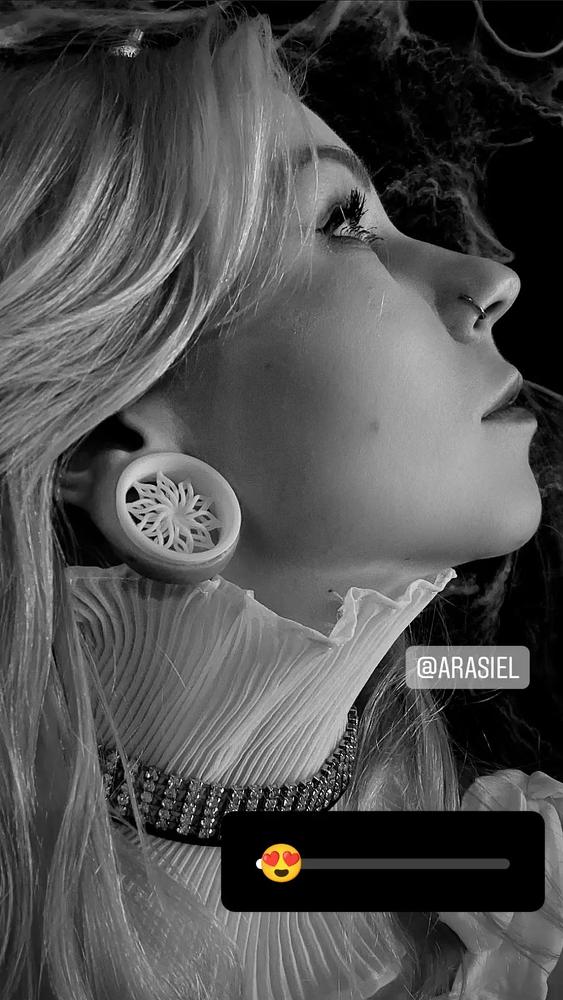
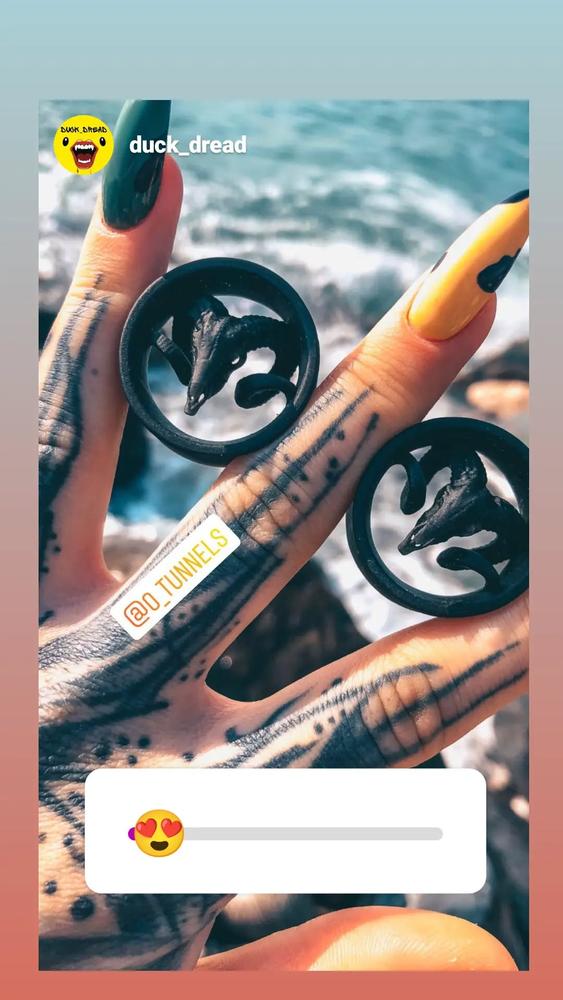
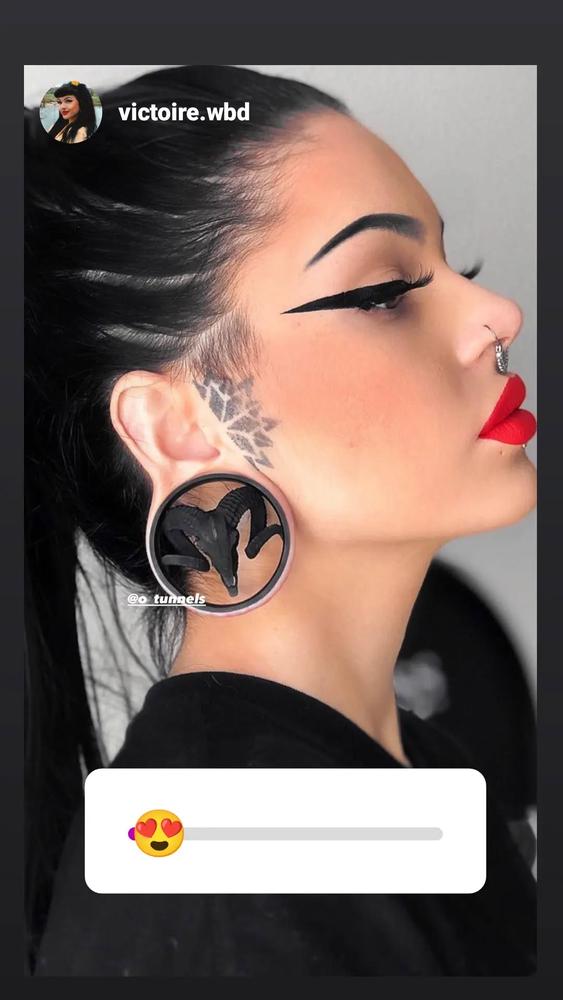
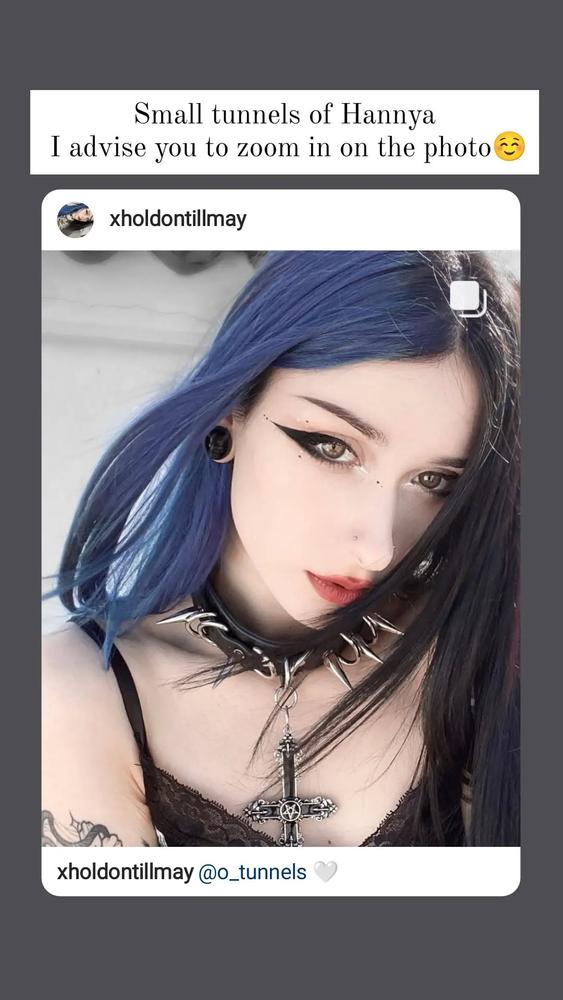
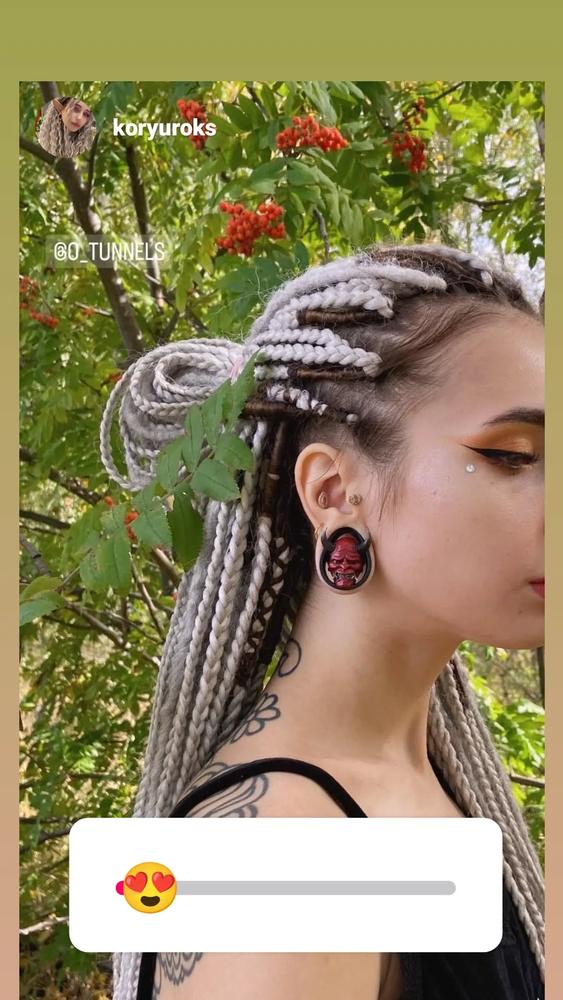
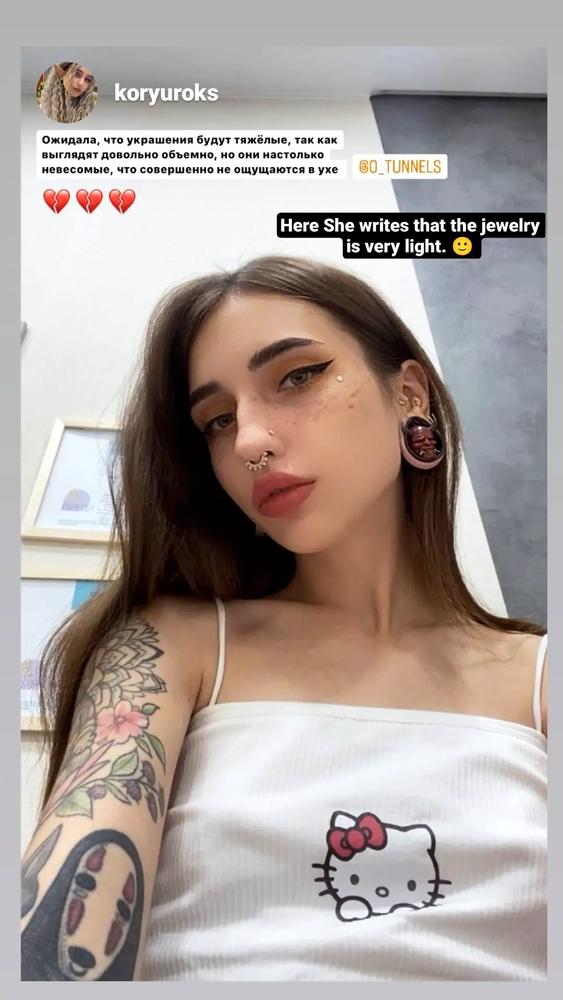
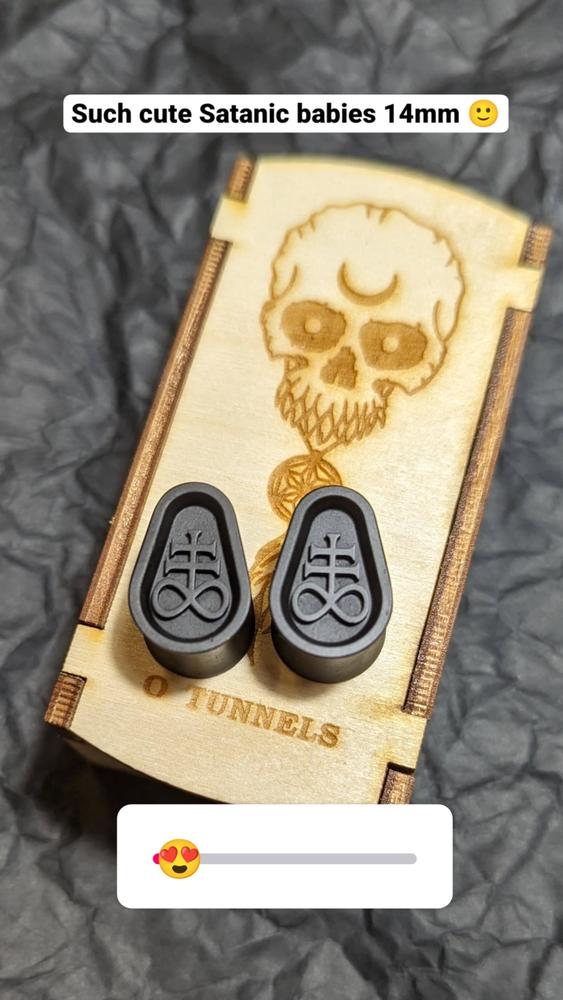
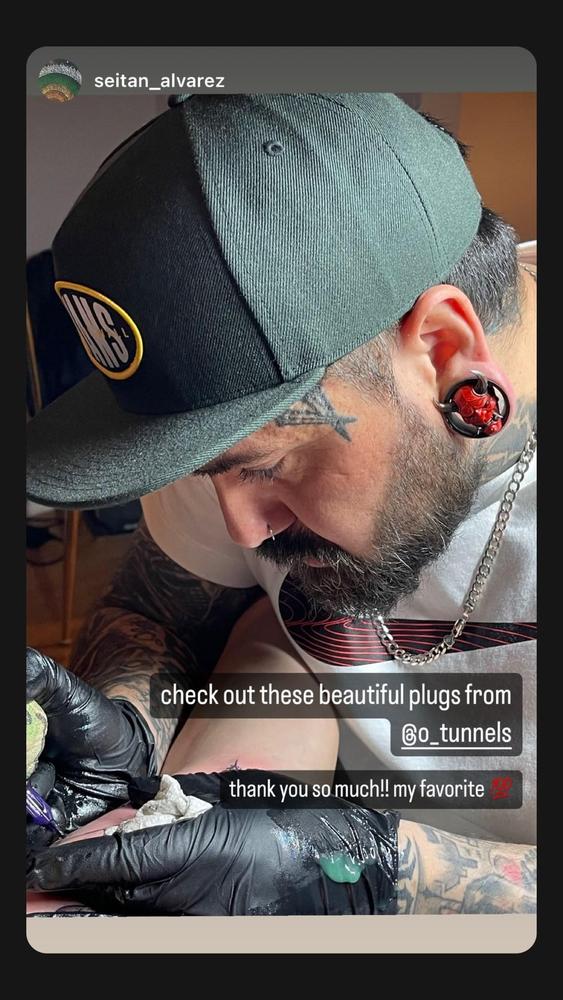
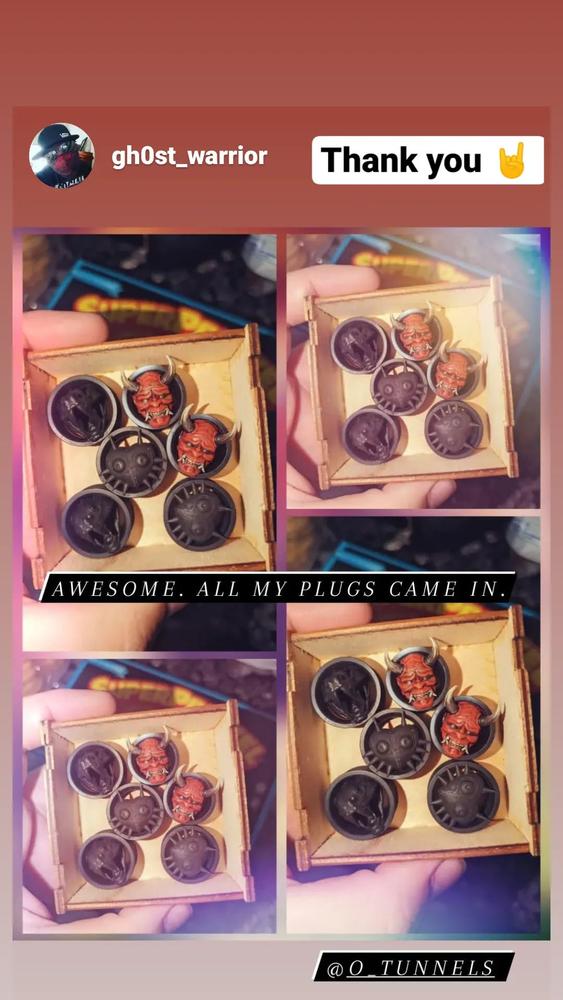
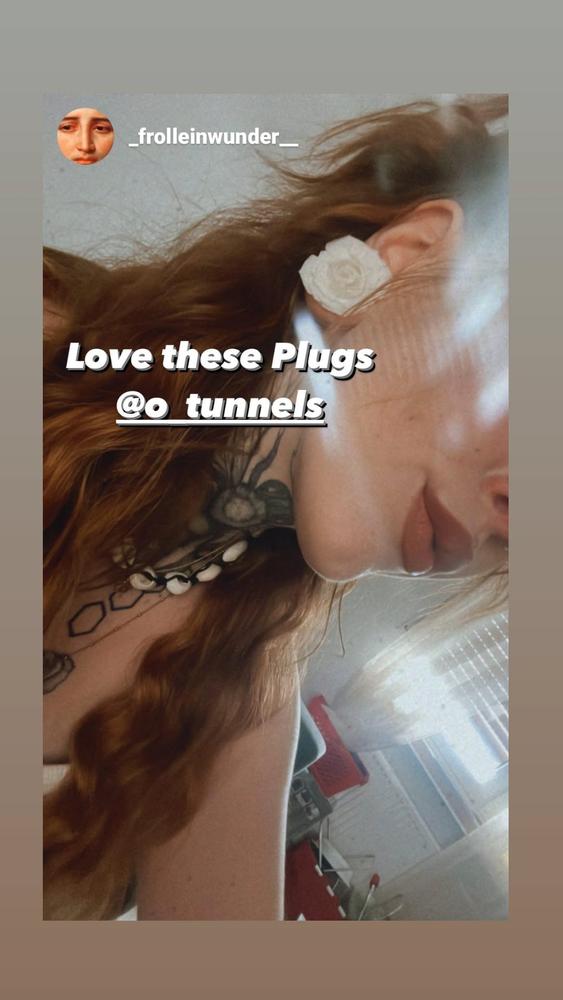
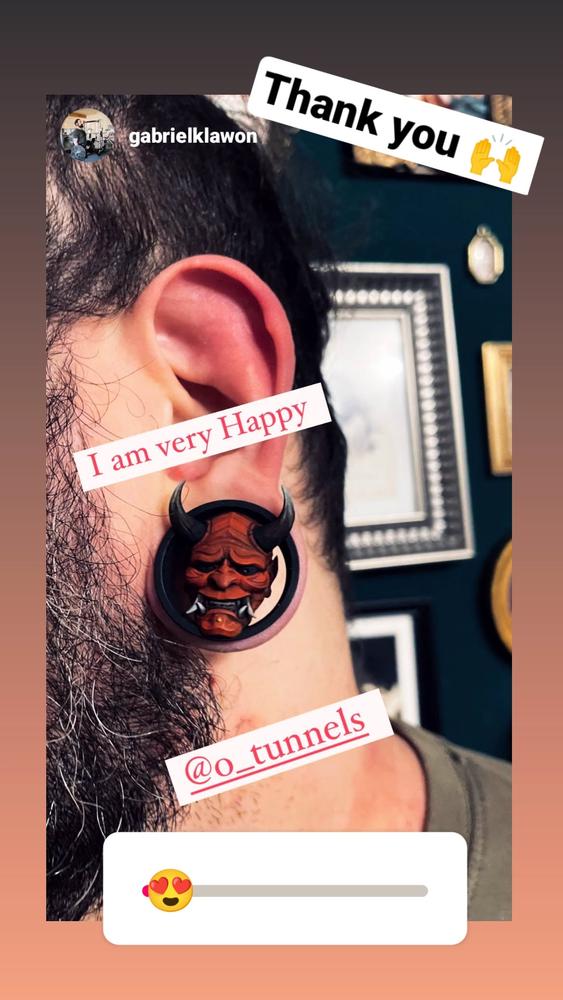
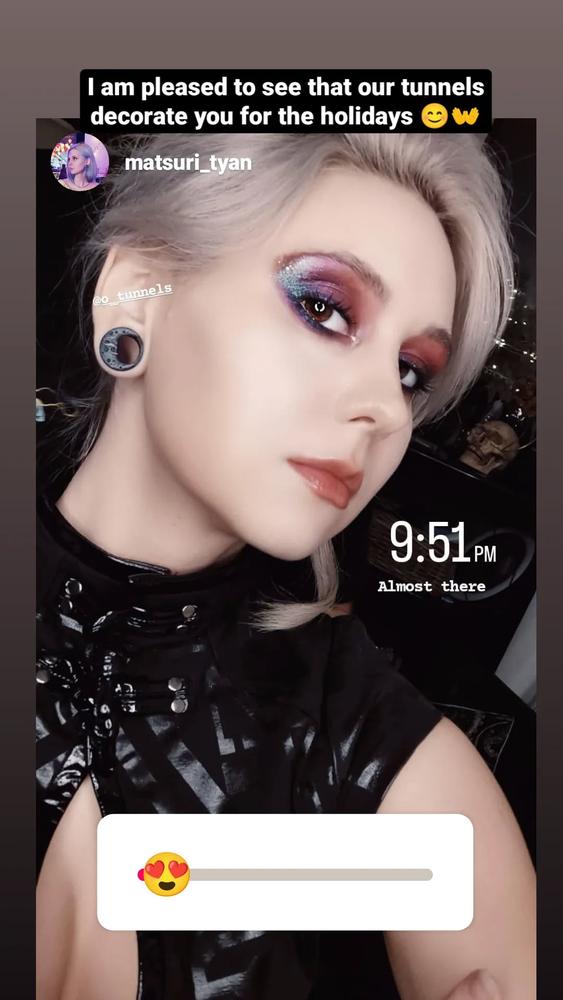
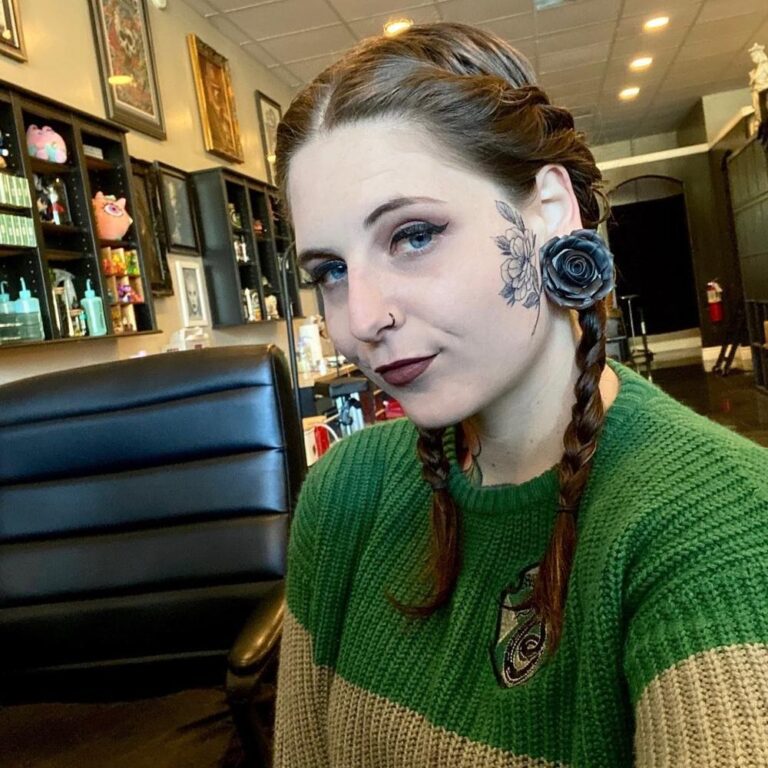
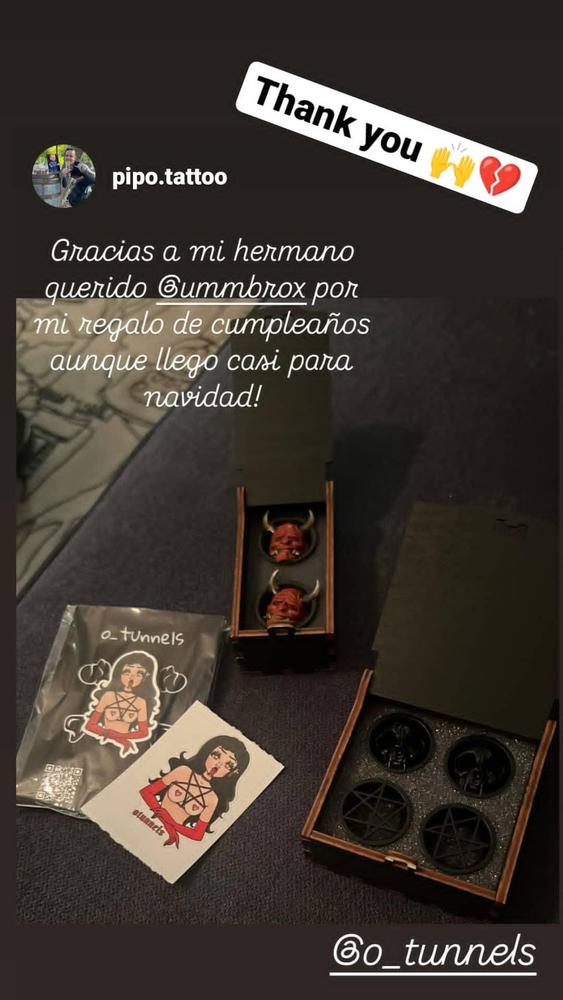
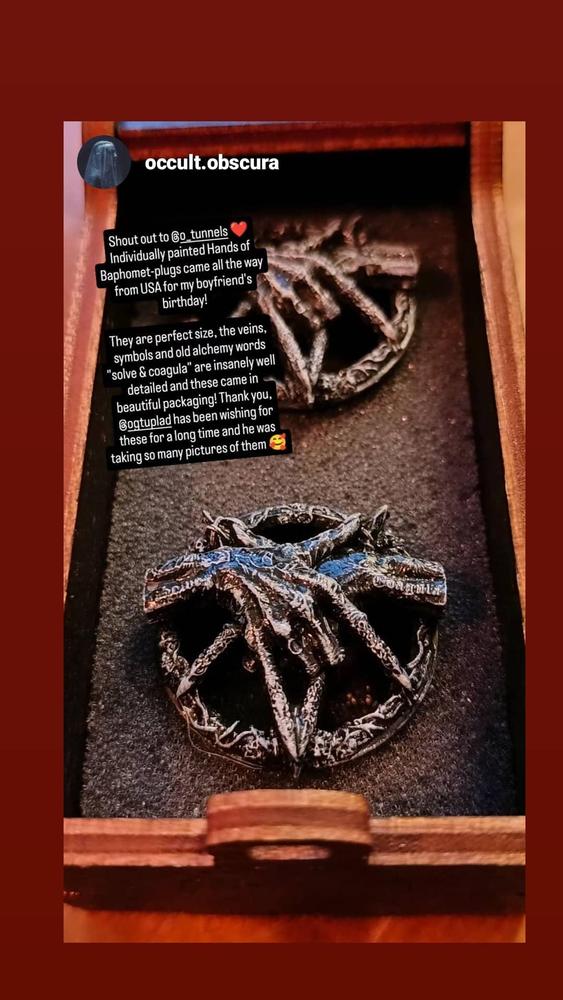
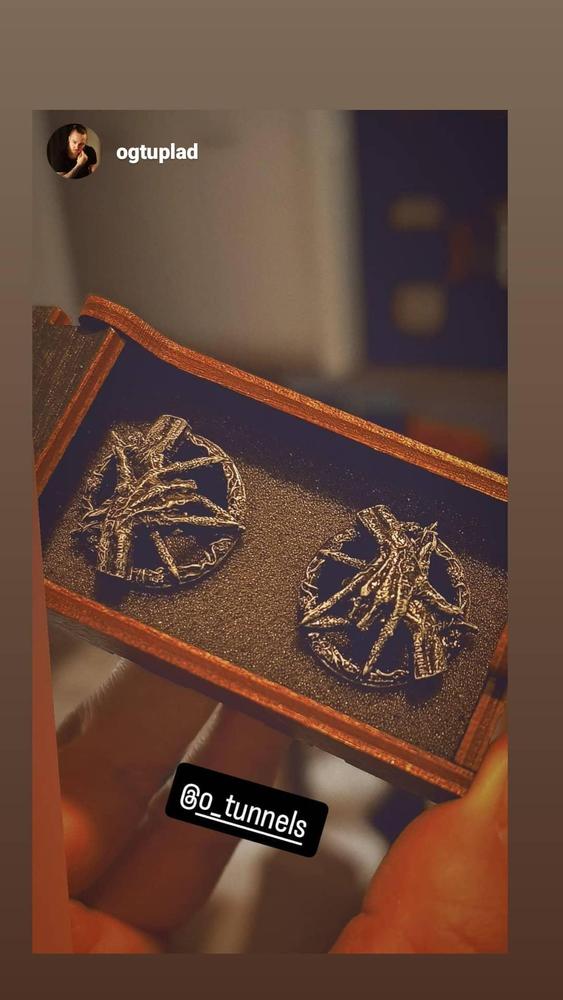
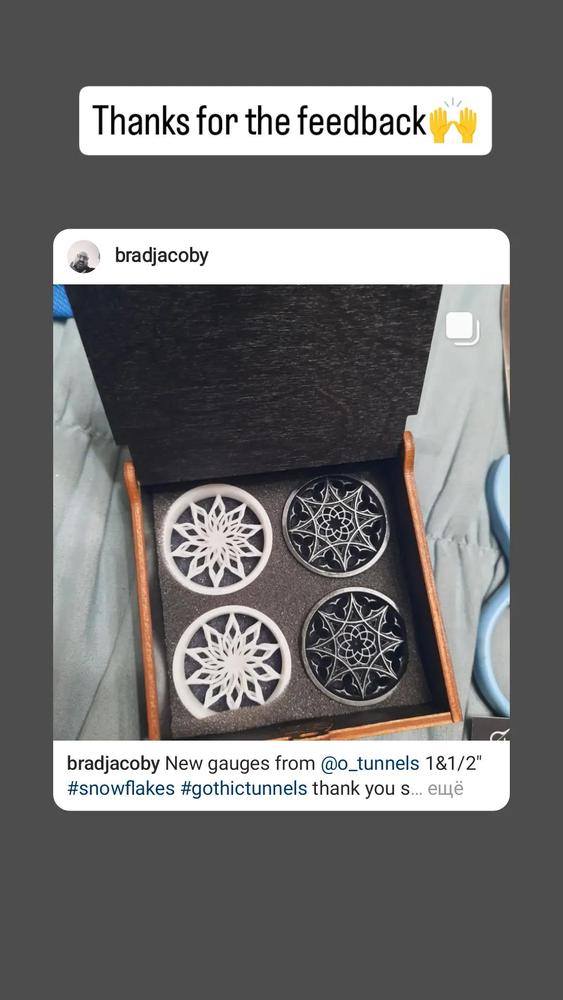
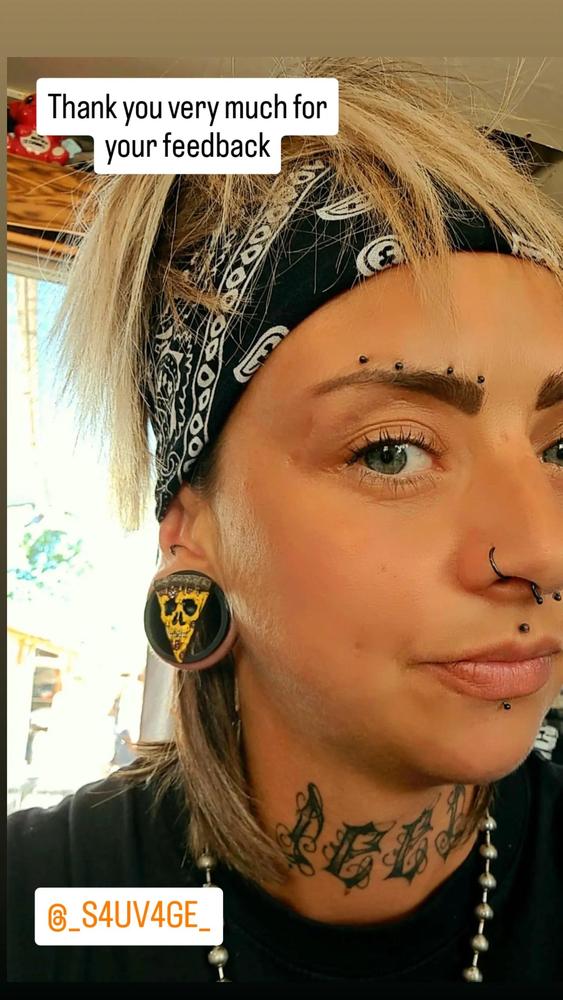
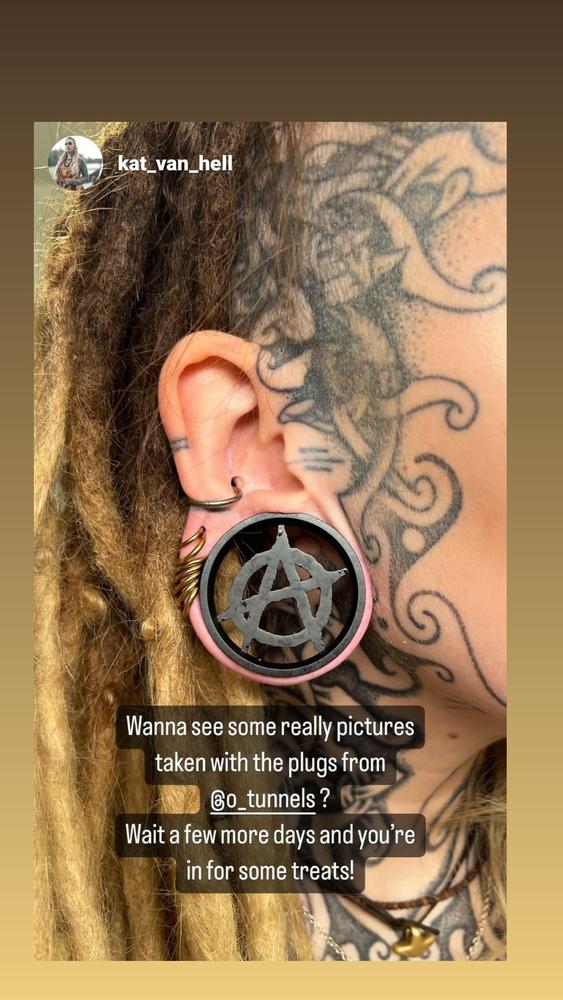
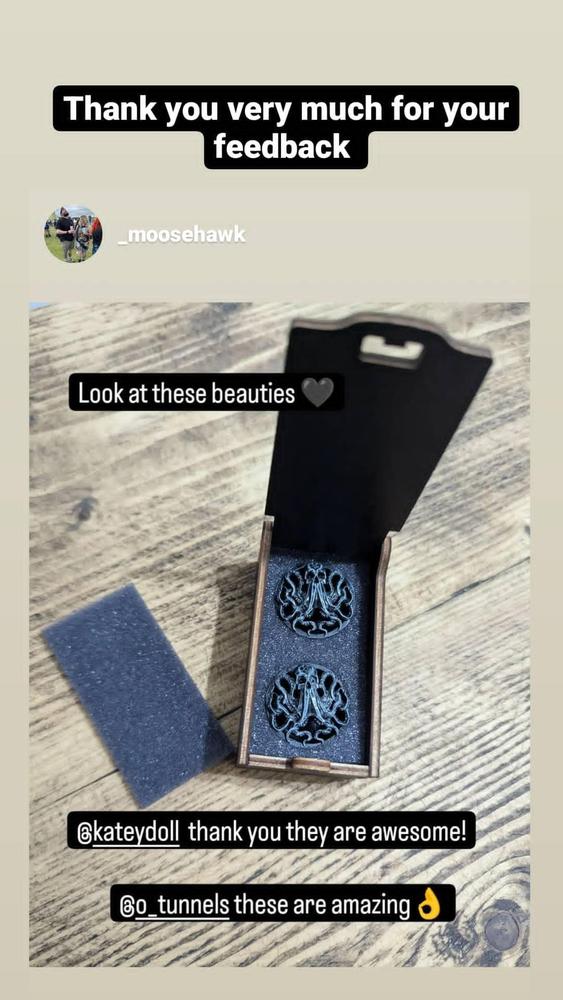
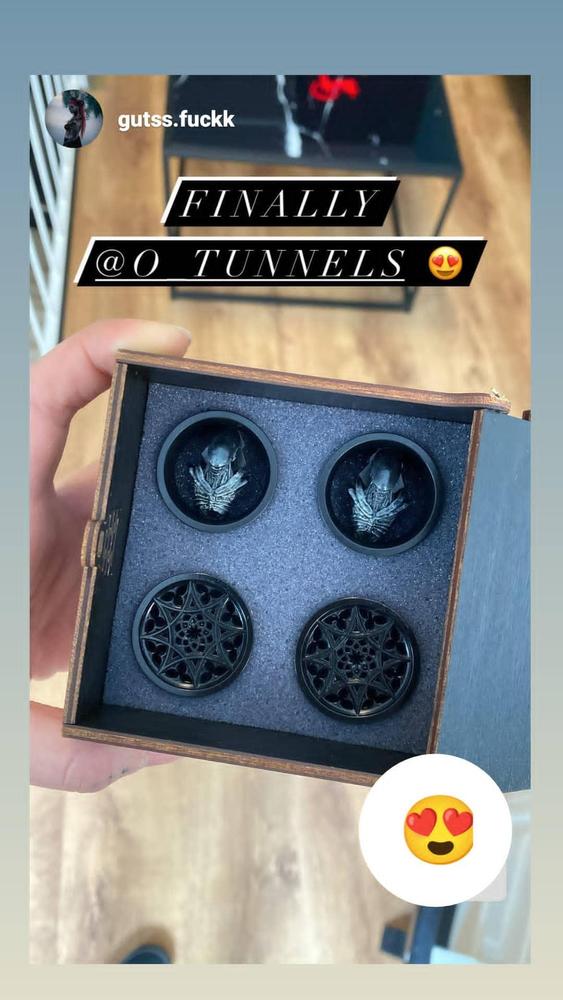
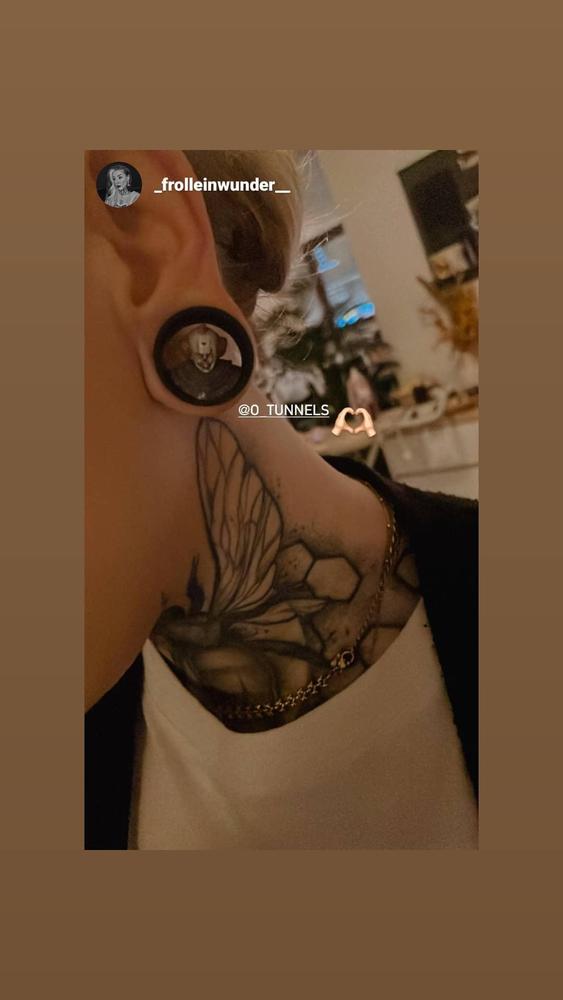
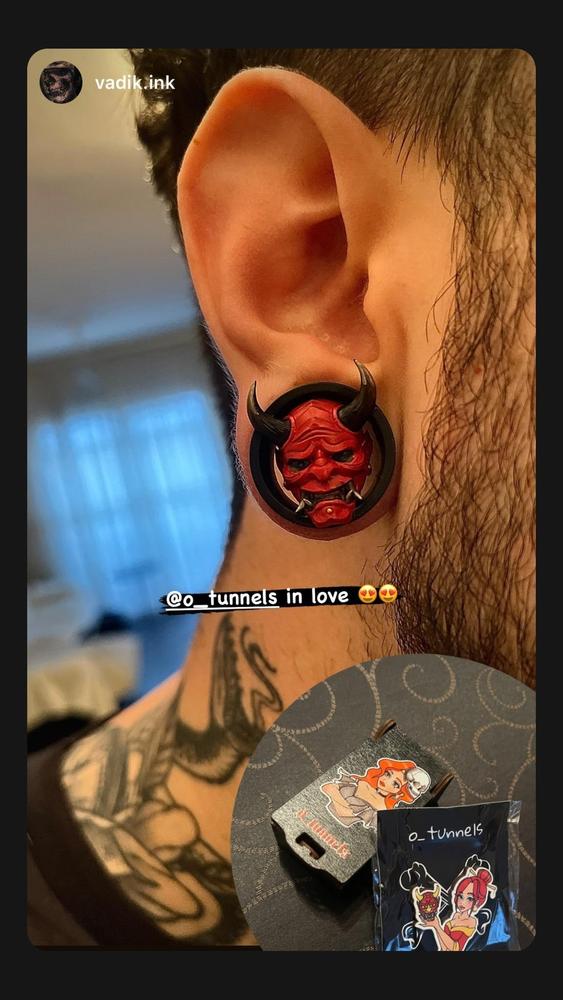
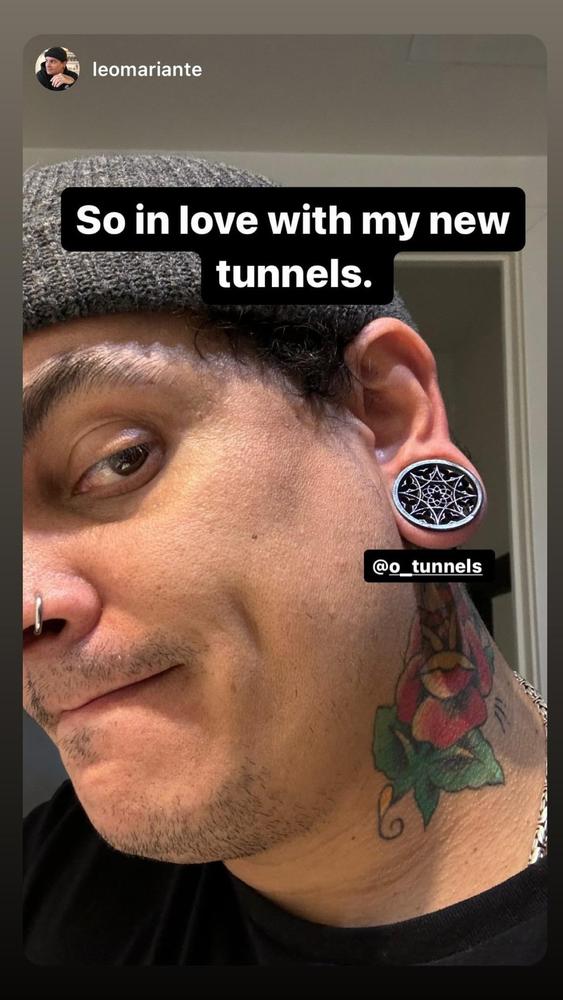
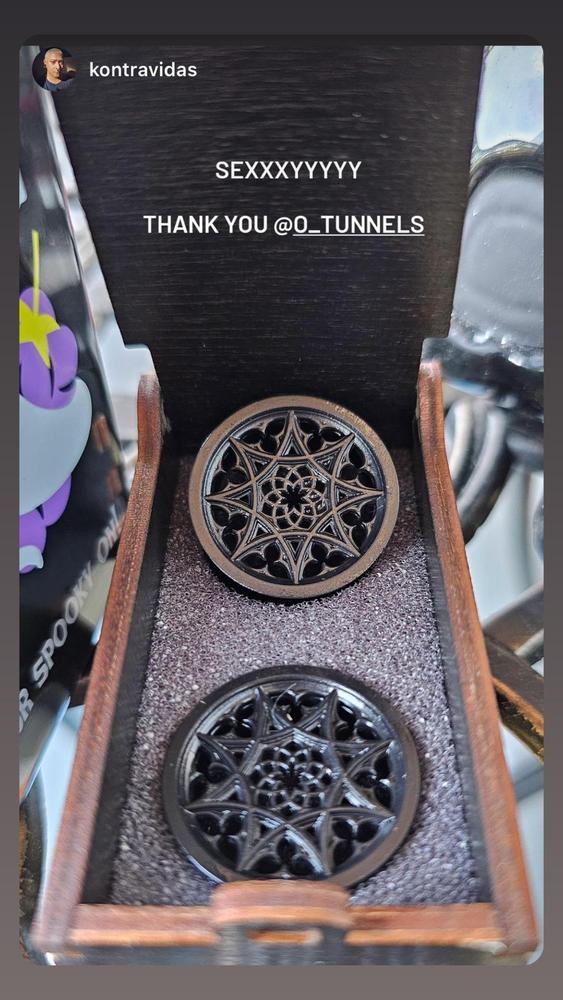
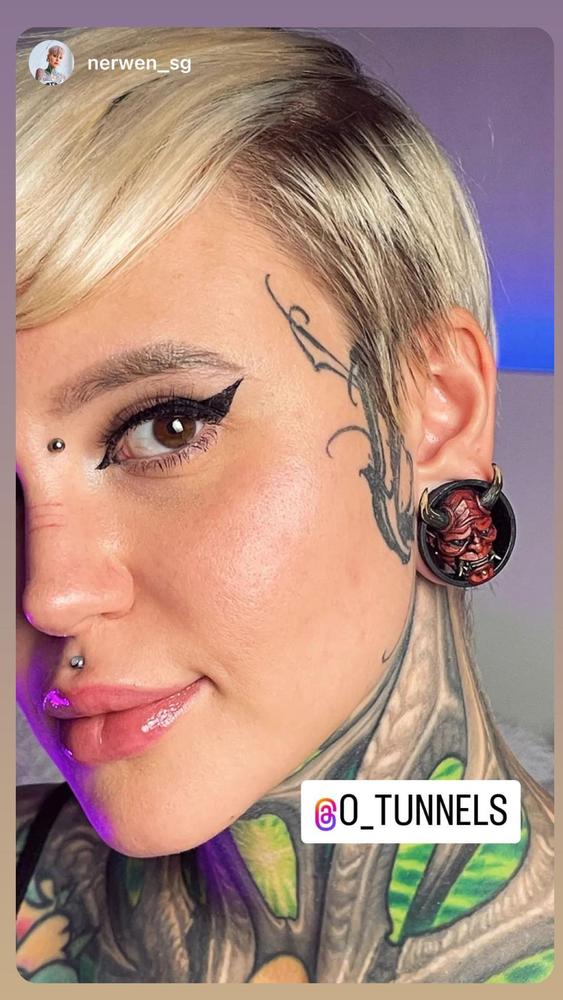
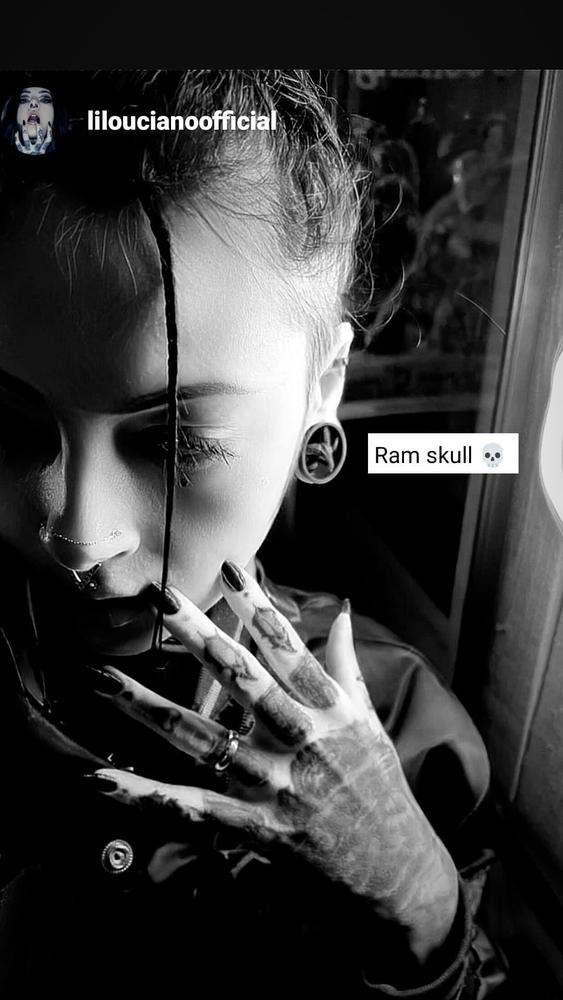
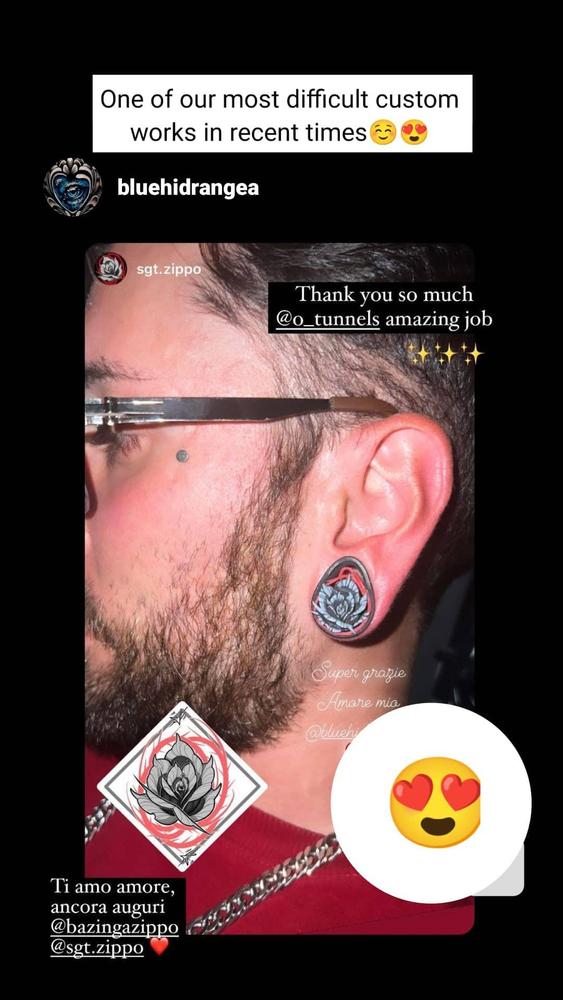
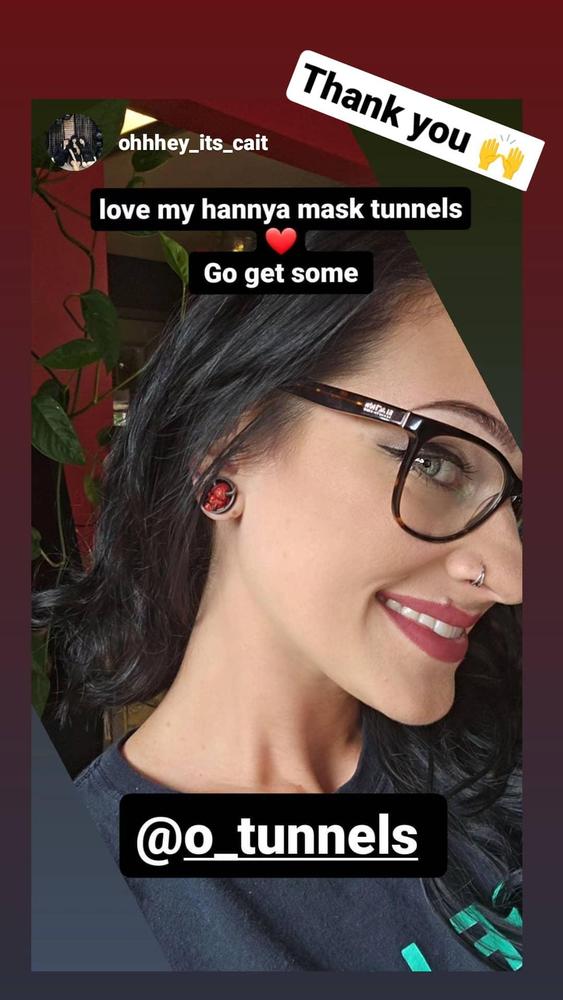
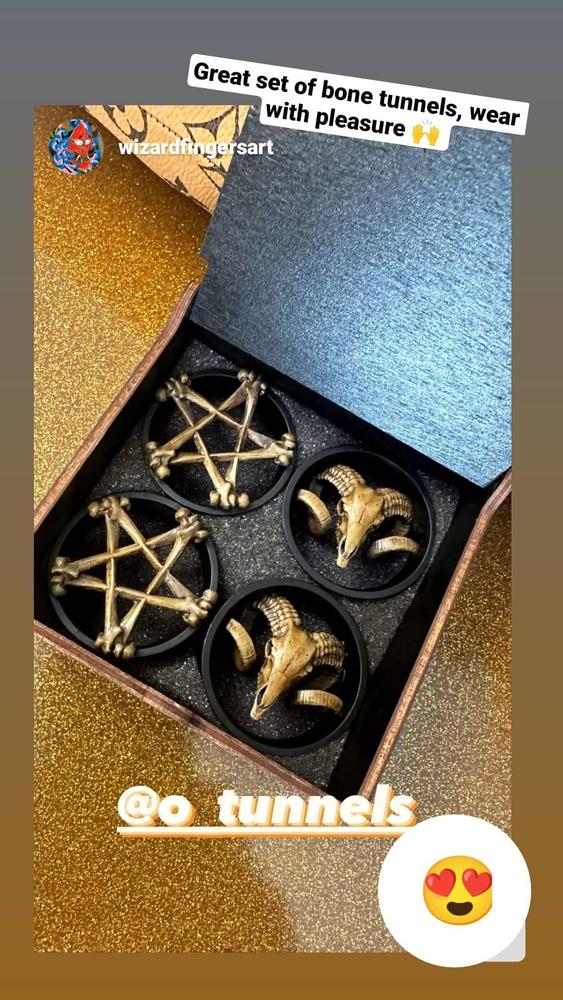
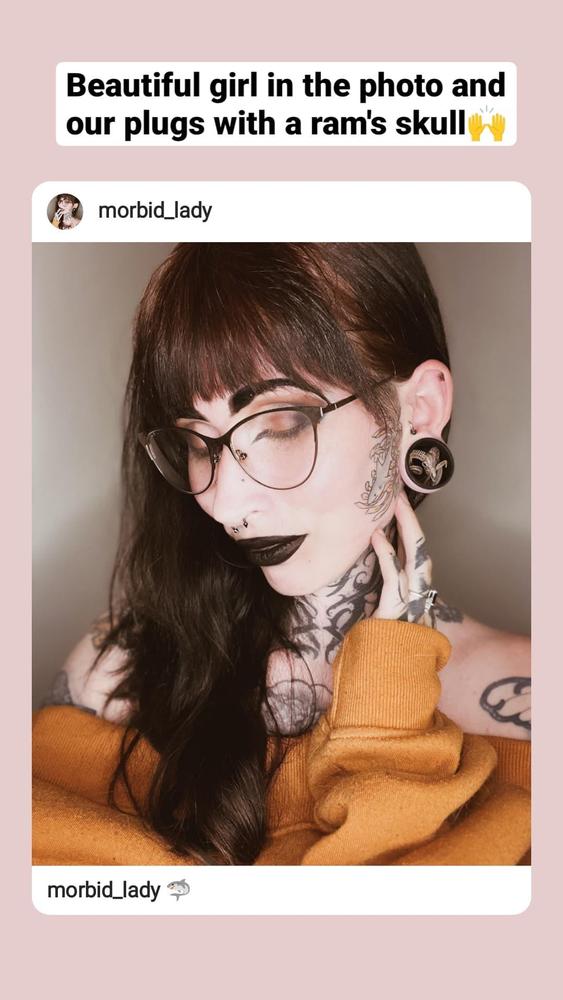
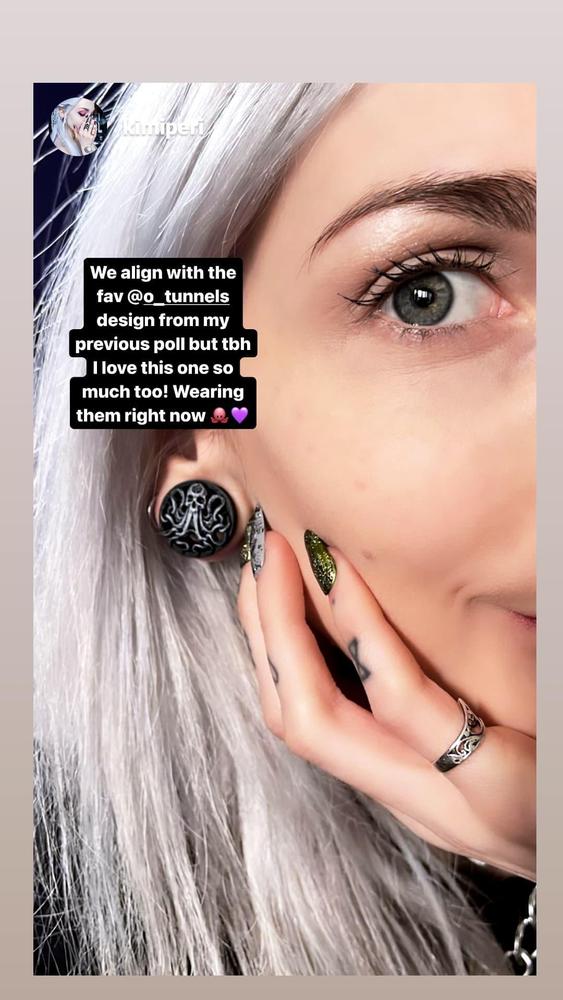
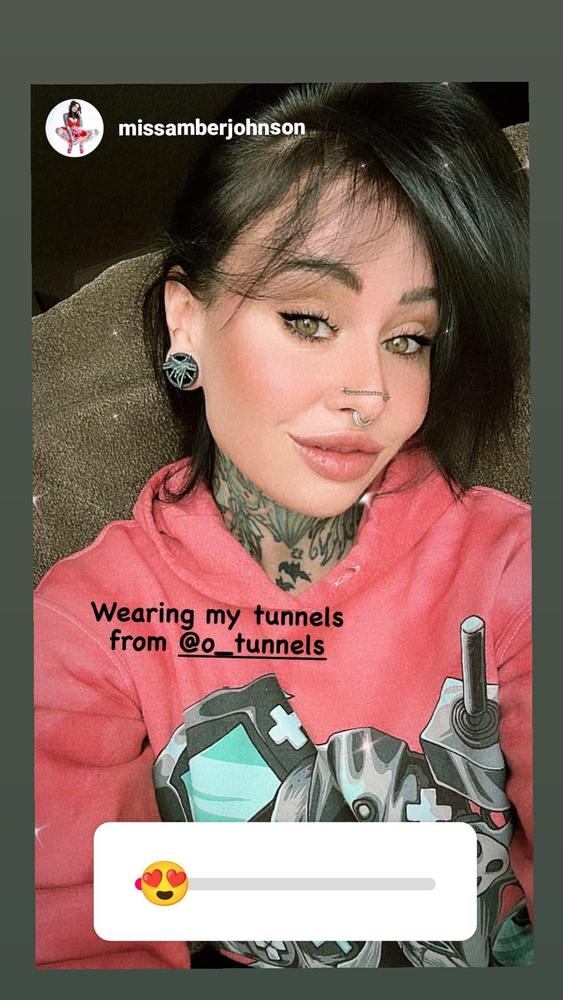
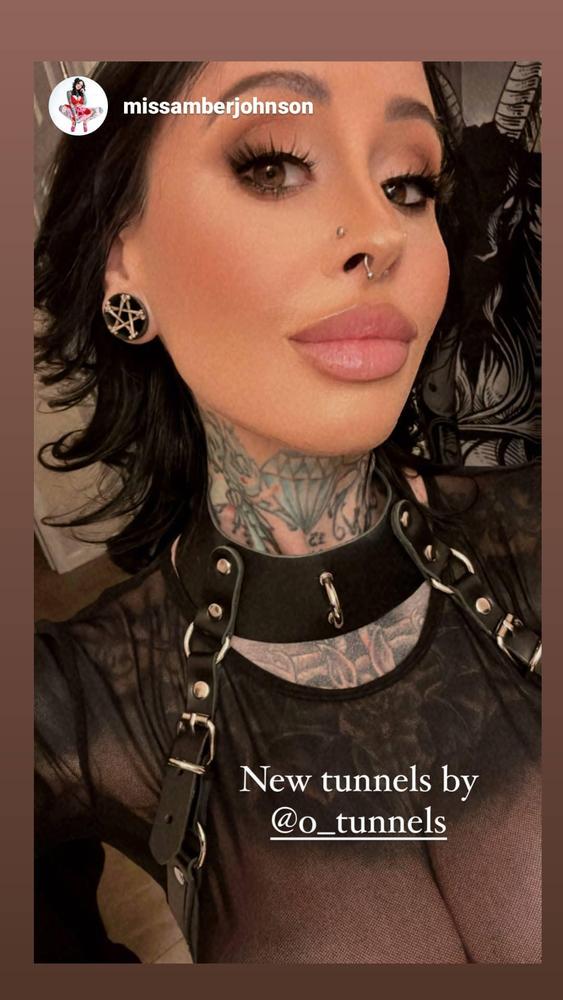
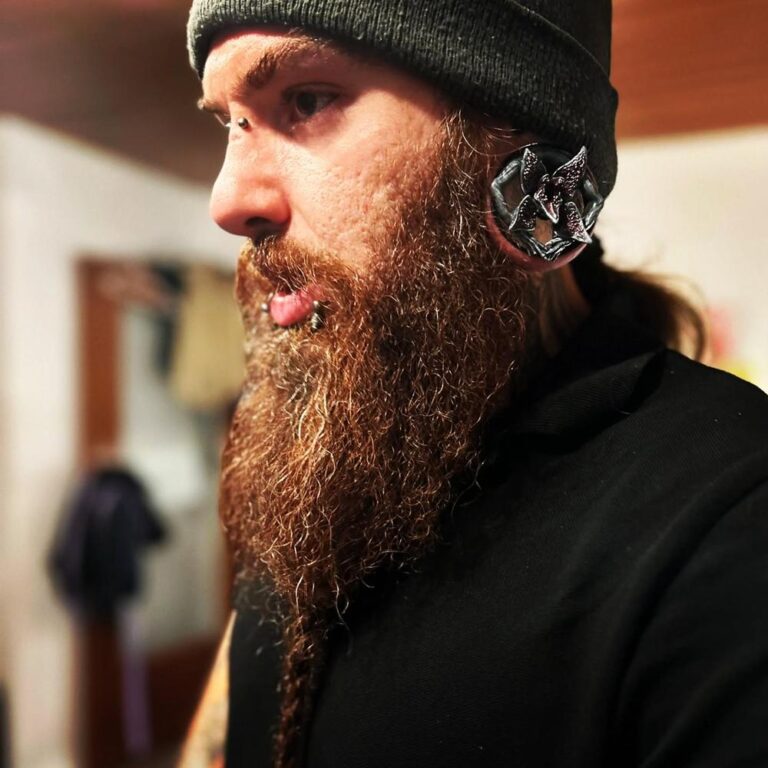
Once your ears have comfortably adjusted, it’s time to showcase your style! Experiment with different designs, colors, and materials – make those tunnels your fashion statement!
Conclusion: Your Ear Fashion Journey Begins!
So, whether you prefer the sleekness of single-flared or the statement look of double-flared tunnels, the key is to take it slow, pay attention to your body, and wear those tunnels with confidence! Embrace your unique style and rock your ear game! Happy tunneling, folks!
