Have you ever wondered what it takes to stretch or gauge your ears? Ear stretching, also known as gauging, is a form of body modification and self-expression that has been practiced for centuries. It involves gradually increasing the size of the earlobe piercing to accommodate larger jewelry, such as plugs or tunnels. If you’re curious about ear stretching or have already started your journey, this comprehensive guide will provide you with all the information you need.
Chapter 1: Introduction to Ear Stretching
Ear stretching is a practice that involves gradually enlarging the pierced hole in the earlobe. This process allows individuals to wear larger and more elaborate earrings, such as plugs, tunnels, or tapers. It’s essential to approach ear stretching with caution and patience, as improper techniques can lead to complications like infections or blowouts.
How to Start Ear Stretching
If you’re new to ear stretching, it’s advisable to seek professional help. A licensed piercer or a trained expert can provide guidance on how to start and ensure that the initial piercing is done correctly. They can also assist you in choosing the right jewelry and offer advice on ear care.
Chapter 2: What Size to Start With
The Initial Gauge
When beginning your ear stretching journey, you’ll typically start with a 14-gauge piercing size, which is slightly larger than a regular earring. If you’ve had pierced ears for a while, you may have already stretched them slightly, especially if you’ve worn heavy earrings. In such cases, you might begin with a 12-gauge taper. However, if your initial piercing was done with a needle, it might be as small as 20 gauge, requiring you to start with an 18-gauge taper.
To determine your starting size, consult with your ear piercer, as they can assess your current piercing and recommend the appropriate gauge for stretching.
Chapter 3: Stretching Your Ears Slowly Is Best
The Importance of Patience
One of the most common mistakes in ear stretching is impatience. Stretching your ears too quickly can lead to problems like tearing, scarring, or blowouts. It’s crucial to follow a slow and gradual stretching process to ensure the health and safety of your earlobes.
Here are some essential guidelines:
- Always increase your gauge size one step at a time.
- Allow your ears ample time to heal before attempting a new stretch.
- Avoid using materials that can harbor bacteria or cause irritation.
By adhering to these principles, you can minimize the risk of complications and ensure a successful stretching journey.
Chapter 4: How Long Does It Take to Start Stretching Ears?
Timing Your Stretches
You can begin stretching your ears as soon as your initial piercing has fully healed. This typically takes up to six months, but it may vary depending on your body’s healing process. It’s crucial not to rush the stretching process, as attempting to stretch too soon can lead to discomfort and complications.
Chapter 5: How Long Does It Take for Stretched Ears to Close?
Closure Time Varies
The duration it takes for stretched ears to close varies from person to person. Several factors influence the closure time, including:
- Elasticity of your skin
- Size of your stretched earlobes
- Time taken to stretch the earlobes
- Any issues experienced during stretching
- Proper aftercare and maintenance
In general, smaller gauges may take around four months to close, while larger gauges could take a year or longer. Keep in mind that some individuals may reach a “point of no return,” where their ears won’t close entirely after a certain size.
Chapter 6: Does Ear Stretching Hurt?
Understanding Discomfort
While ear stretching is typically associated with some discomfort, it shouldn’t cause severe pain. Sensations like tingling or mild stinging are normal during the stretching process. However, if you experience significant pain, it’s a sign that you may be stretching too quickly or using jewelry that’s too large for your current size.
In such cases, it’s essential to downsize, allow for more healing time, and use lubrication like Jojoba Oil to aid the process.
Chapter 7: Can You Reverse Ear Stretching?
The Possibility of Reversal
Many people can stretch their ears up to a 0 gauge and still shrink them back to a smaller size if desired. Whether you can reverse the stretching process depends on various factors, including your healing rate, the presence of scar tissue, and how long you’ve had stretched ears.
The “point of no return” typically ranges between 0g and 4g for most individuals. However, it’s not a one-size-fits-all rule, and some may be able to return to smaller sizes while others may find it challenging.
Chapter 8: How to Shrink Stretched Ears That Won’t Close
Options for Shrunken Ears
If your stretched ears won’t close or shrink naturally, you have two primary options:
- Wear Smaller Jewelry: You can wear plugs or tunnels that are the smallest size your ears will shrink to. This helps maintain a more modest appearance while keeping your stretched ears.
- Reconstructive Surgery: For those who wish to return to their original size, surgical procedures are available. However, this option comes with the caveat that you won’t be able to stretch your ears again, and some individuals may not be eligible for traditional piercings afterward.
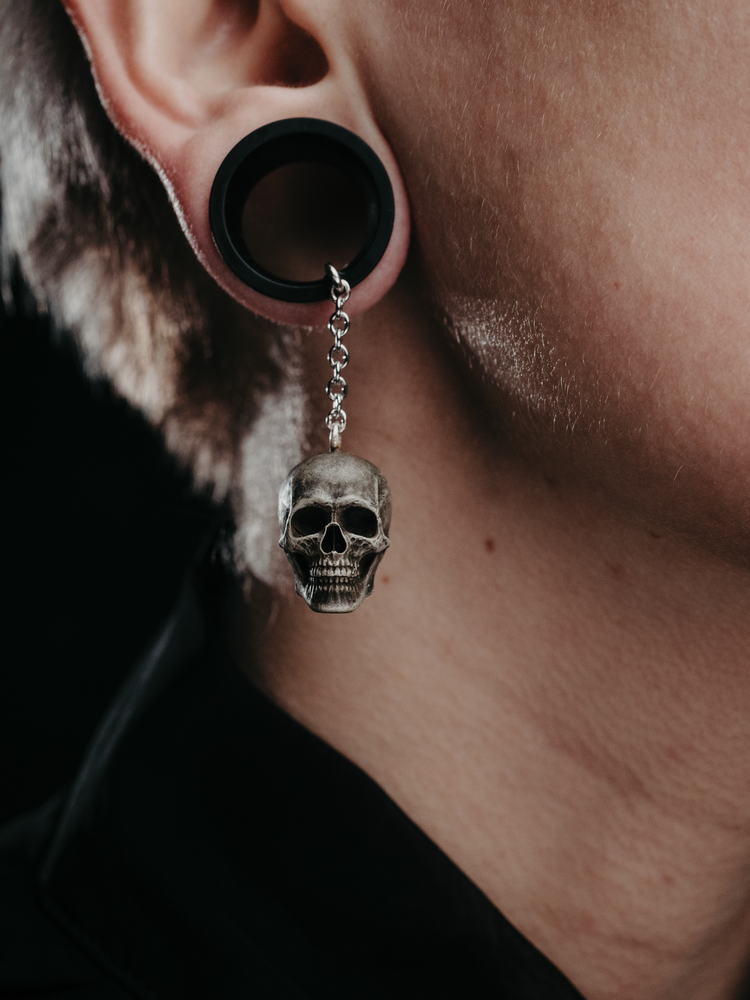
Chapter 9: How to Insert Plugs
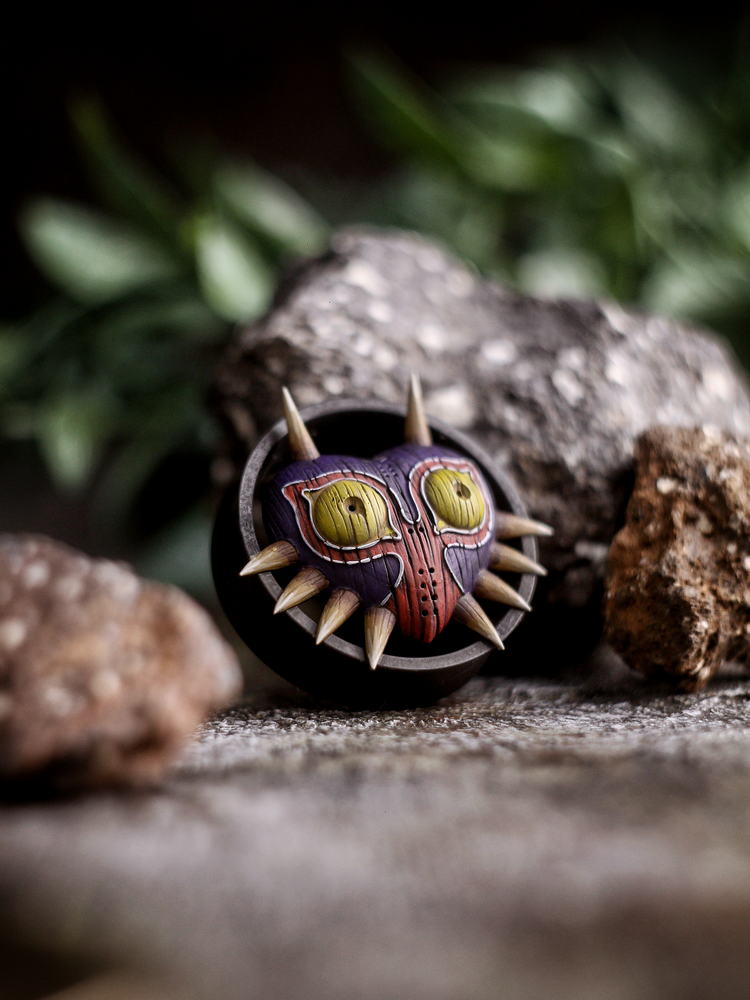
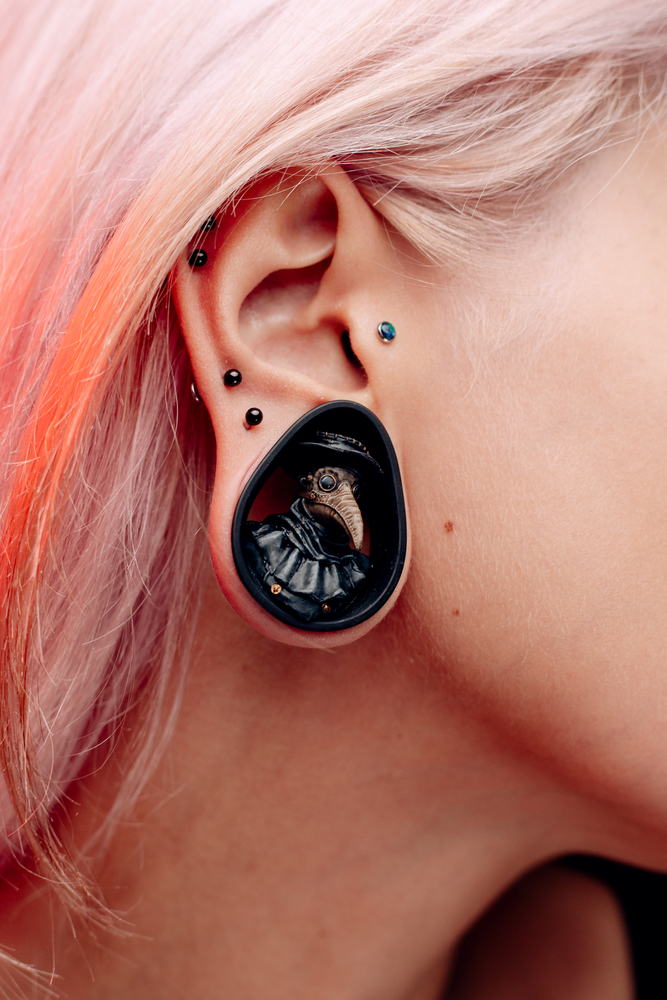
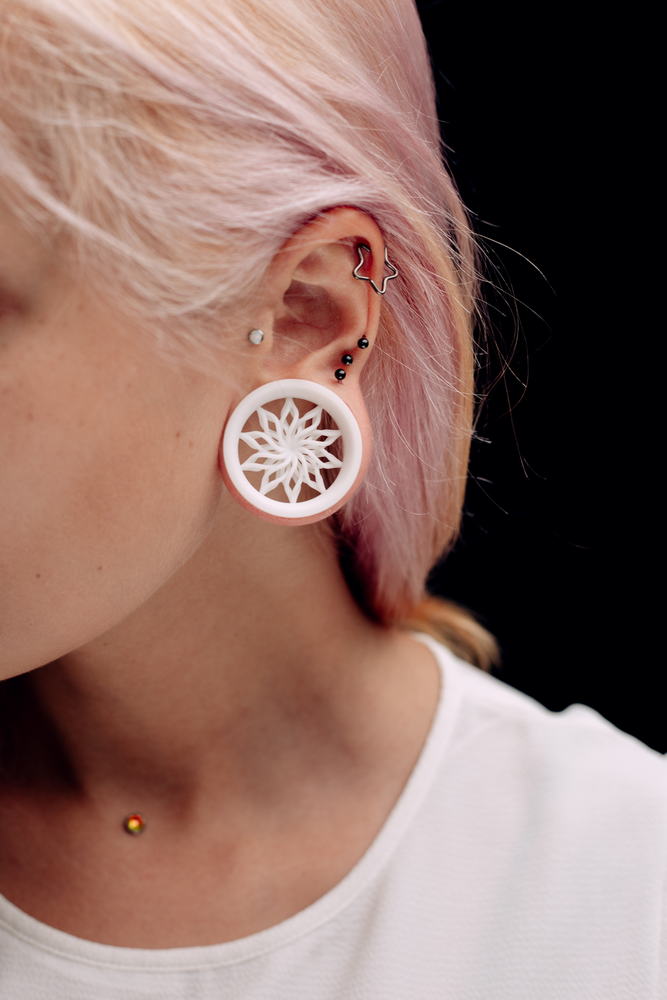
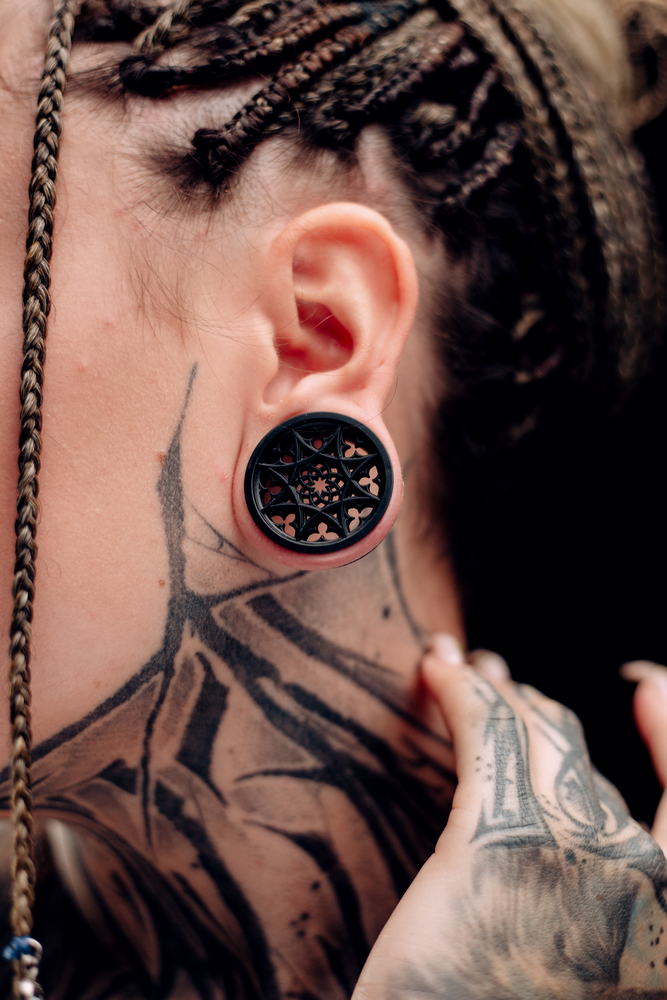
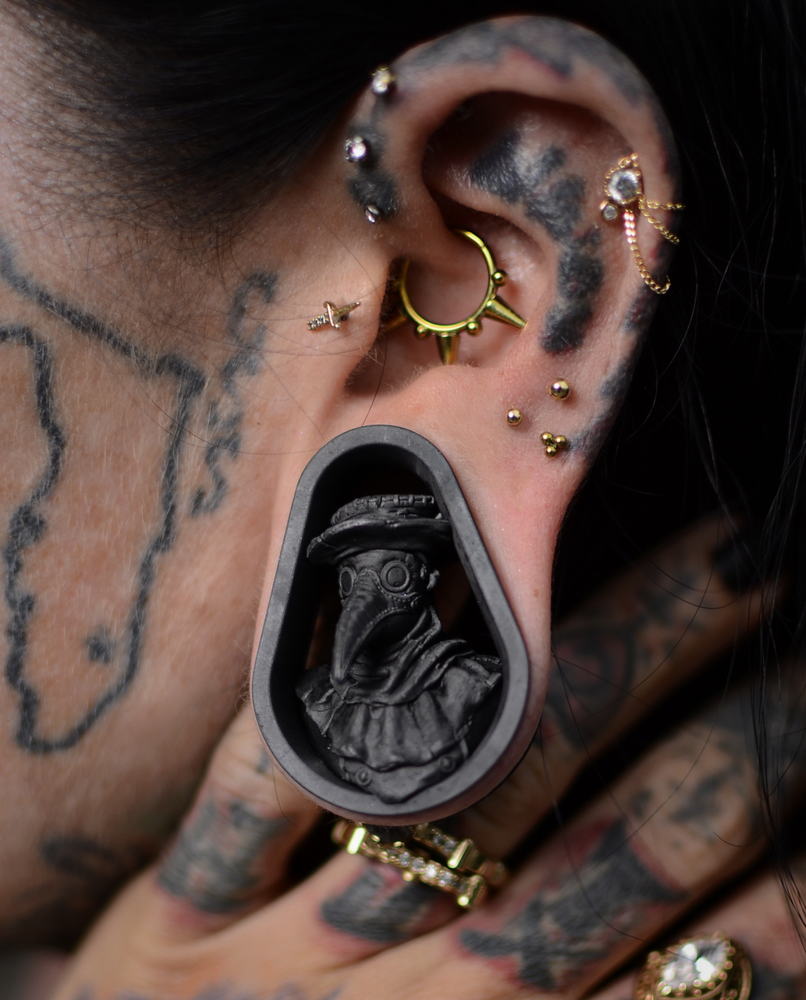
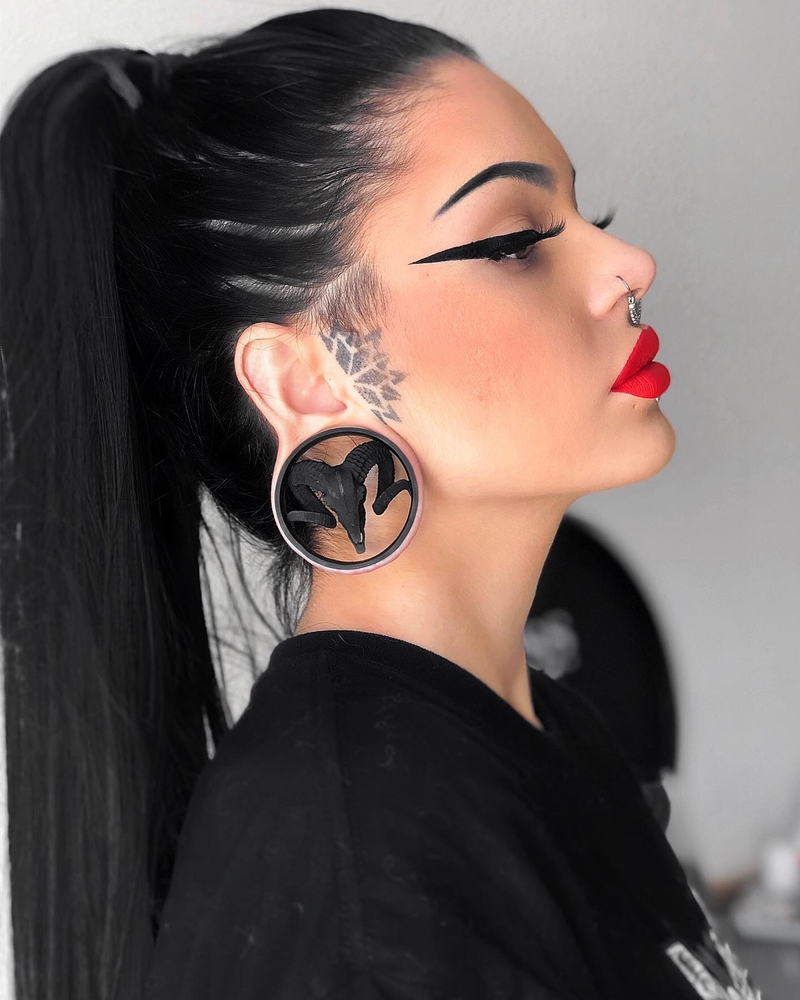
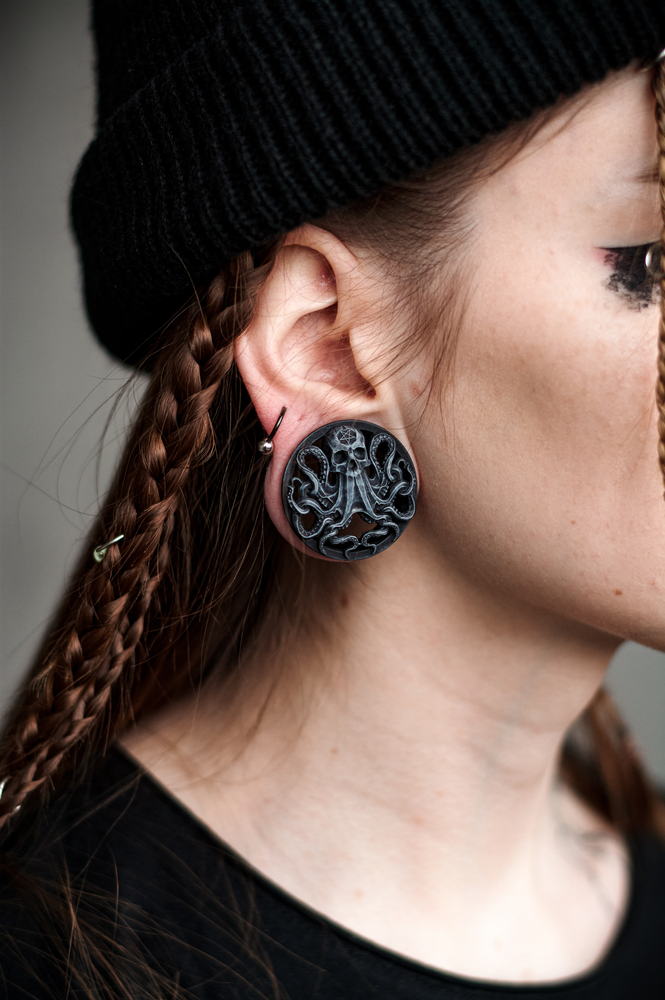
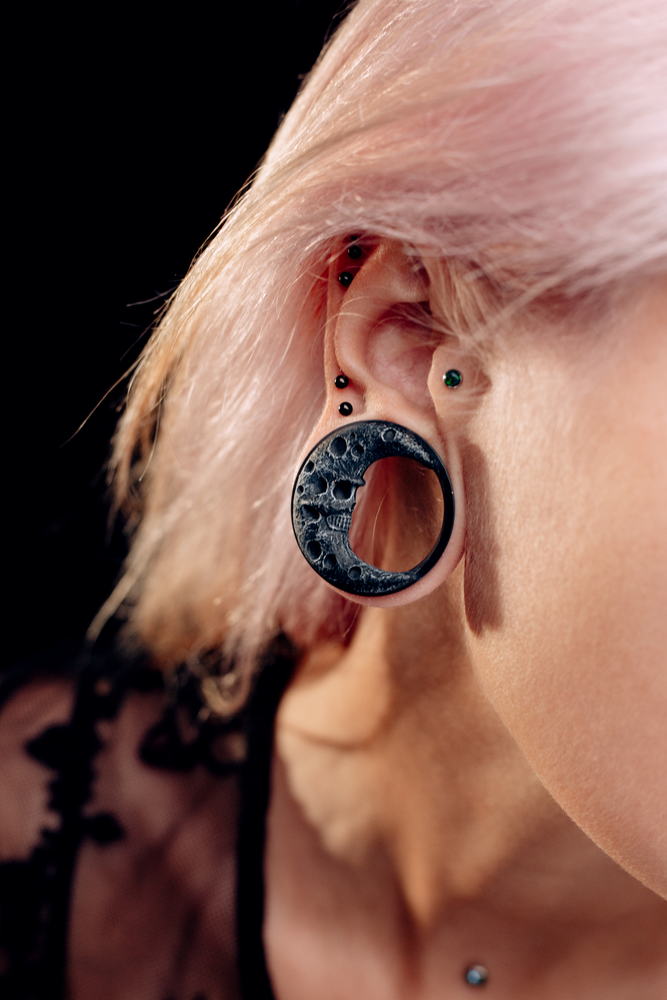
Plugs and Tunnels
Plugs and tunnels are the jewelry pieces used to adorn stretched ears. They come in various materials and styles, but the process of inserting them is relatively similar. Here’s how to insert plugs and tunnels:
- Prepare Your Ears: Start by ensuring your ears are clean and have been warmed up, which can be done with a hot shower.
- Lubricate: Apply a suitable lubricant, such as Jojoba Oil, to both the taper and your ear.
- Insert the Taper: Insert the taper into your piercing, starting with the narrower end. Slowly push it through, rotating if necessary, until it passes through the piercing entirely.
- Attach the Plug or Tunnel: Once the taper is through, attach the plug or tunnel to the wider end of the taper and continue pushing it through until it’s in place.
If you encounter any resistance or discomfort during this process, consider downsizing and allowing more healing time before attempting a larger size.
Chapter 10: How to Insert Double Flared Plugs Using the “Button Up” Technique
Double flared plugs are a stunning addition to your stretched earlobe collection, but they require proper care and technique to insert comfortably and safely. In this chapter, we’ll explore the “button up” method, a reliable approach to wearing double flared plugs without the hassle. Let’s get started.
1. Wait for Full Healing: Patience is key when it comes to ear stretching. Ensure your ears are fully healed before attempting to wear double flared plugs. This typically occurs after four to eight weeks of stretching. Rushing the process can lead to complications, so don’t skip this crucial step.
2. Insert at an Angle: Think of inserting double flared plugs as threading a button through a buttonhole. Begin by inserting the plug at a slight angle. This helps ease the flare into the piercing hole. Start with the edge and then align it as you gently push it through. Smooth and steady wins the race here.
3. Size Compatibility: Your ear should be stretched to at least the size of the flare to comfortably accommodate double flared plugs. Trying to fit a larger flare into a smaller piercing can result in discomfort and potential damage, so ensure a proper fit.
4. Lubrication is Key: Just like any other stretching method, lubrication is crucial. Apply a small amount of water-based lubricant to both the plug and your earlobe. This reduces friction and significantly eases the insertion process. Don’t underestimate the power of a little lubrication—it can make a big difference.
5. The “Button Up” Technique: Now, for the heart of the matter—the “button up” method. Hold the double flared plug between your thumb and forefinger, ensuring that the flare faces your earlobe. Gently angle the plug and guide the edge of the flare into the piercing hole. Remember, patience is your ally.
6. Patience is Paramount: Slow and steady is the name of the game. Do not rush the process. Apply gentle, consistent pressure as you work the plug into the piercing. Be prepared for some resistance, especially if it’s your first time wearing double flared jewelry. Rome wasn’t built in a day, and neither should your stretching journey be.
7. Rotation and Alignment: As you continue to guide the plug through, maintain a slight angle and gently rotate it. This ensures that the flare gradually slips into the piercing hole. However, be cautious not to twist too forcefully, as this can cause discomfort or injury. Gentle, steady movements are your best friends.
8. Check for Comfort: Once the plug is halfway in, pause and assess your comfort level. If you experience pain or excessive resistance, consider removing the plug and applying more lubricant. Remember, it’s okay to take a step back if needed. There’s no rush in the world of ear stretching.
9. Fully Insert the Plug: Continue guiding the double flared plug until it is entirely through your piercing. Ensure that the flare sits flush against your earlobe and is not tilted or uneven. A properly inserted double flared plug should sit comfortably and securely in your stretched earlobe.
10. Watch for Swelling: After inserting the double flared plug, pay close attention to any signs of swelling, redness, or discomfort. These can be indicators of irritation or an improper fit. If these symptoms persist, don’t hesitate to remove the jewelry and consult with a professional.
11. Cleaning and Maintenance: Proper hygiene is paramount for healthy stretched lobes. Once your double flared plugs are in place, clean them regularly with a saline solution or an alcohol-free antiseptic. This simple routine prevents infections and maintains your stretched earlobes’ well-being.
In conclusion, the “button up” method for inserting double flared plugs is a process that requires patience, preparation, and lubrication. Only attempt this method when your ears are fully healed and ready for double flared jewelry. Always listen to your body, and if you encounter any issues during the insertion process, don’t hesitate to seek guidance from a professional piercer. With care and diligence, you can enjoy the unique aesthetic of double flared plugs while preserving the health of your stretched earlobes.
Chapter 11: Ear Stretching Safety and Troubleshooting
But our journey doesn’t end here. Safety should always be at the forefront of your ear stretching endeavors. Here are some additional tips to ensure a safe and successful stretching journey:
1. Stay Hydrated: Proper hydration benefits not only your overall health but also your skin, including your earlobes. Drink plenty of water to keep your skin supple.
2. Nutrition Matters: A balanced diet with essential vitamins and minerals can promote healthy skin and tissue. Consider incorporating foods rich in vitamins A, C, and E, as well as zinc and collagen-building proteins into your diet.
3. Avoid Alcohol and Smoking: These habits can have adverse effects on your skin’s elasticity and healing. Reducing or eliminating them can significantly benefit your stretching journey.
4. Don’t Skip Cleaning: Regularly clean your stretched ears and jewelry with saline solution or a mild, alcohol-free antiseptic solution to prevent infections.
5. Proper Lubrication: Continue using a suitable lubricant when inserting jewelry, even after reaching your desired size. Lubrication reduces friction, making the process smoother and less likely to cause irritation.
6. Avoid Tapers at Large Sizes: For sizes beyond 1 inch or 25mm, consider using methods like taping instead of tapers to minimize stress on your earlobes.
7. Listen to Your Body: Unusual pain, discomfort, or signs of infection should never be ignored. Seek professional advice immediately if you experience any of these symptoms.
8. Healing Time Varies: Keep in mind that everyone’s body is unique, and healing times can vary widely. Be patient and let your body dictate the pace of your stretching journey.
9. Downsize if Needed: If you’ve reached your desired size and decide to downsize or remove your jewelry, consult with a professional. Your ears may not return to their original size, but professional guidance can minimize any potential issues.
10. Consult with a Piercer: If you have any doubts or concerns about ear stretching, don’t hesitate to consult with a professional piercer or body modification specialist. They can provide personalized advice tailored to your unique situation.
Conclusion: Your Unique Journey
Ear stretching is a personal and creative form of self-expression through body modification. While it may seem intimidating initially, with the right care, patience, and knowledge, you can safely achieve your desired ear size.
Always prioritize safety and responsible stretching practices. Begin with small steps, allow ample healing time between stretches, and seek professional guidance when necessary.
Your stretching journey is as unique as you are, so embrace the opportunity to express yourself through your stretched ears.
Whether you’re starting your ear stretching journey or well on your way, savor the experience and the chance to express your individuality through your stretched lobes. Remember, it’s not just about the destination; it’s the journey and self-expression along the way that truly matter.
So, whether you’re contemplating ear stretching or already immersed in the journey, take it step by step, listen to your body, and enjoy the transformation. With dedication and care, you can safely explore this fascinating form of body modification while maintaining healthy and vibrant earlobes.
Begin your ear stretching journey